Setup VPC Peering using Rebase in minutes
This comprehensive tutorial demonstrates how Rebase AI eliminates the complexity of setting up VPC peering in AWS. The post walks through a complete end-to-end scenario: creating two VPCs with non-overlapping CIDR blocks, deploying EC2 instances, configuring SSM access, and establishing VPC peering connections - all through natural language commands.

If you work with multiple VPCs in AWS, sooner or later you’ll want them to talk to each other. Sometimes you split workloads into different VPCs to keep things separate, or your team is working across different AWS accounts. AWS lets you connect those VPCs with something called VPC peering. That way, the traffic stays private, never hitting the public internet. But if you’ve ever tried to set this up by hand, you know it can be a hassle. You have to make sure the CIDR blocks do not overlap, the route tables are right, and both sides accept the connection. Missing one step means your setup just doesn’t work.
With Rebase, you can do all of this just by telling the agent what you want. Here’s how it works from start to finish.
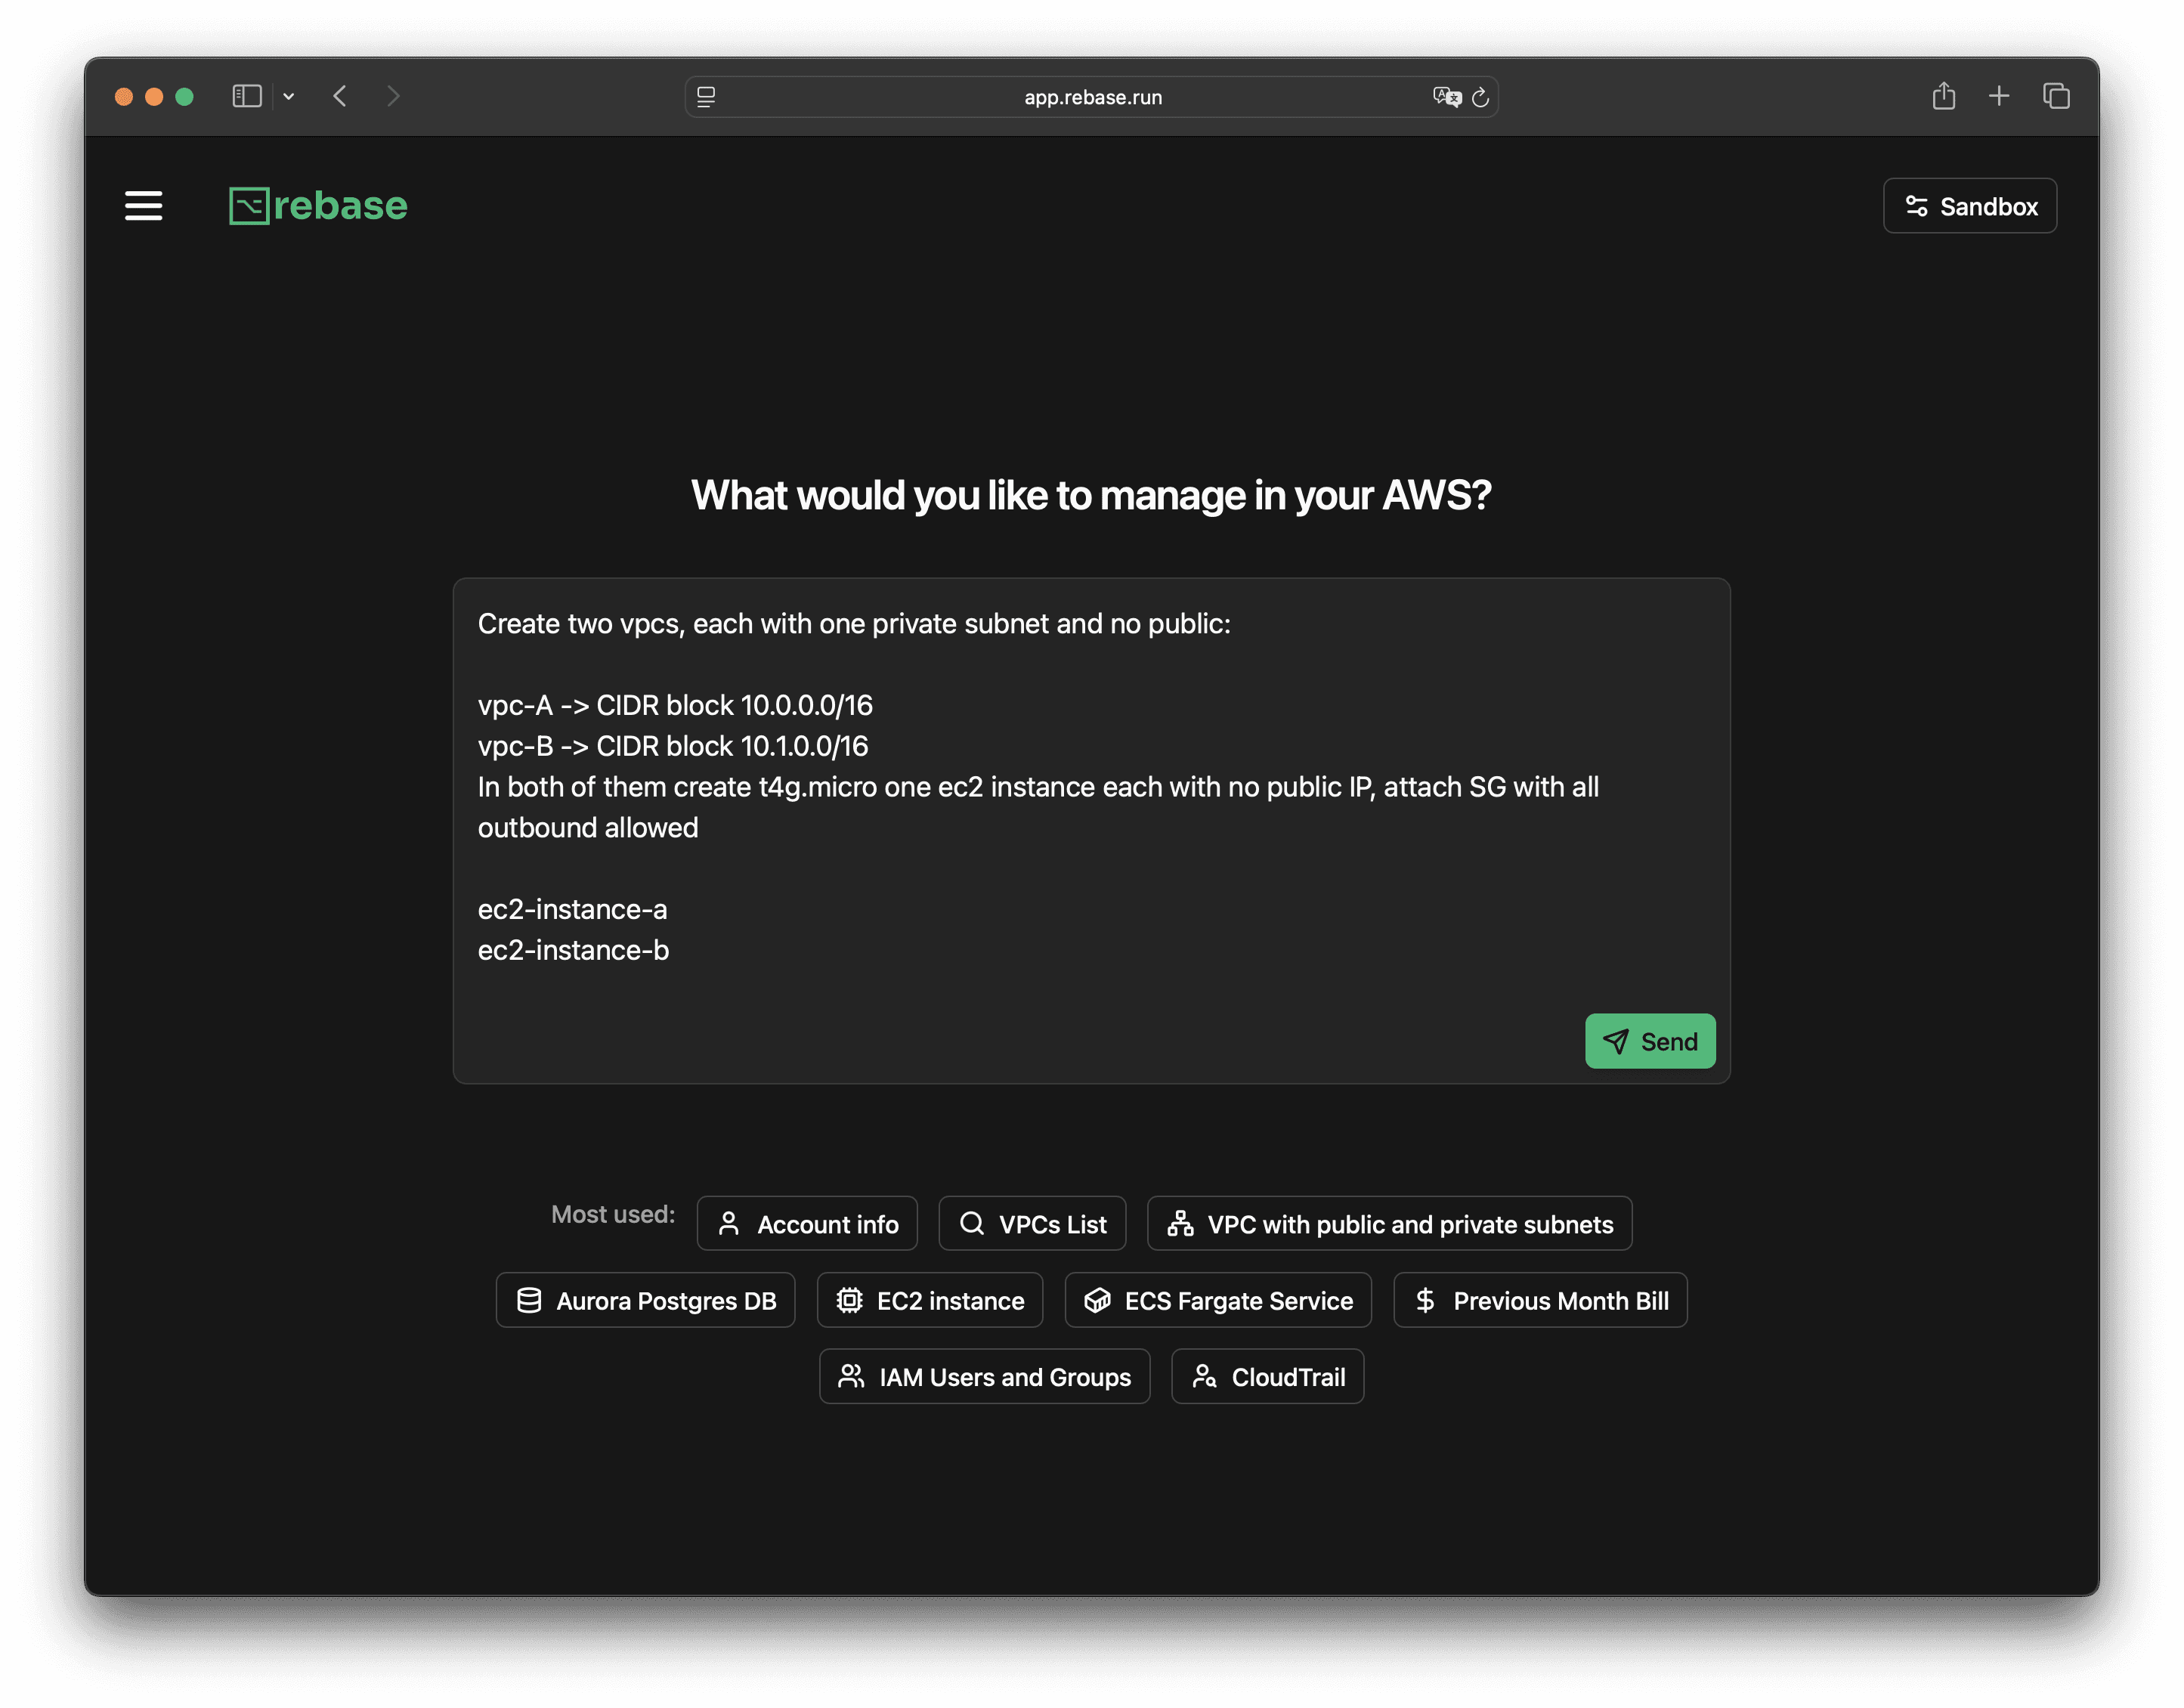
We’ll start by spinning up two VPCs, both with private subnets and non-overlapping CIDR blocks. This is important, because VPC peering won’t work if the address ranges clash.
The AI agent will put together a plan and show you exactly what it’s about to do. If it needs more info, it’ll ask before moving ahead.
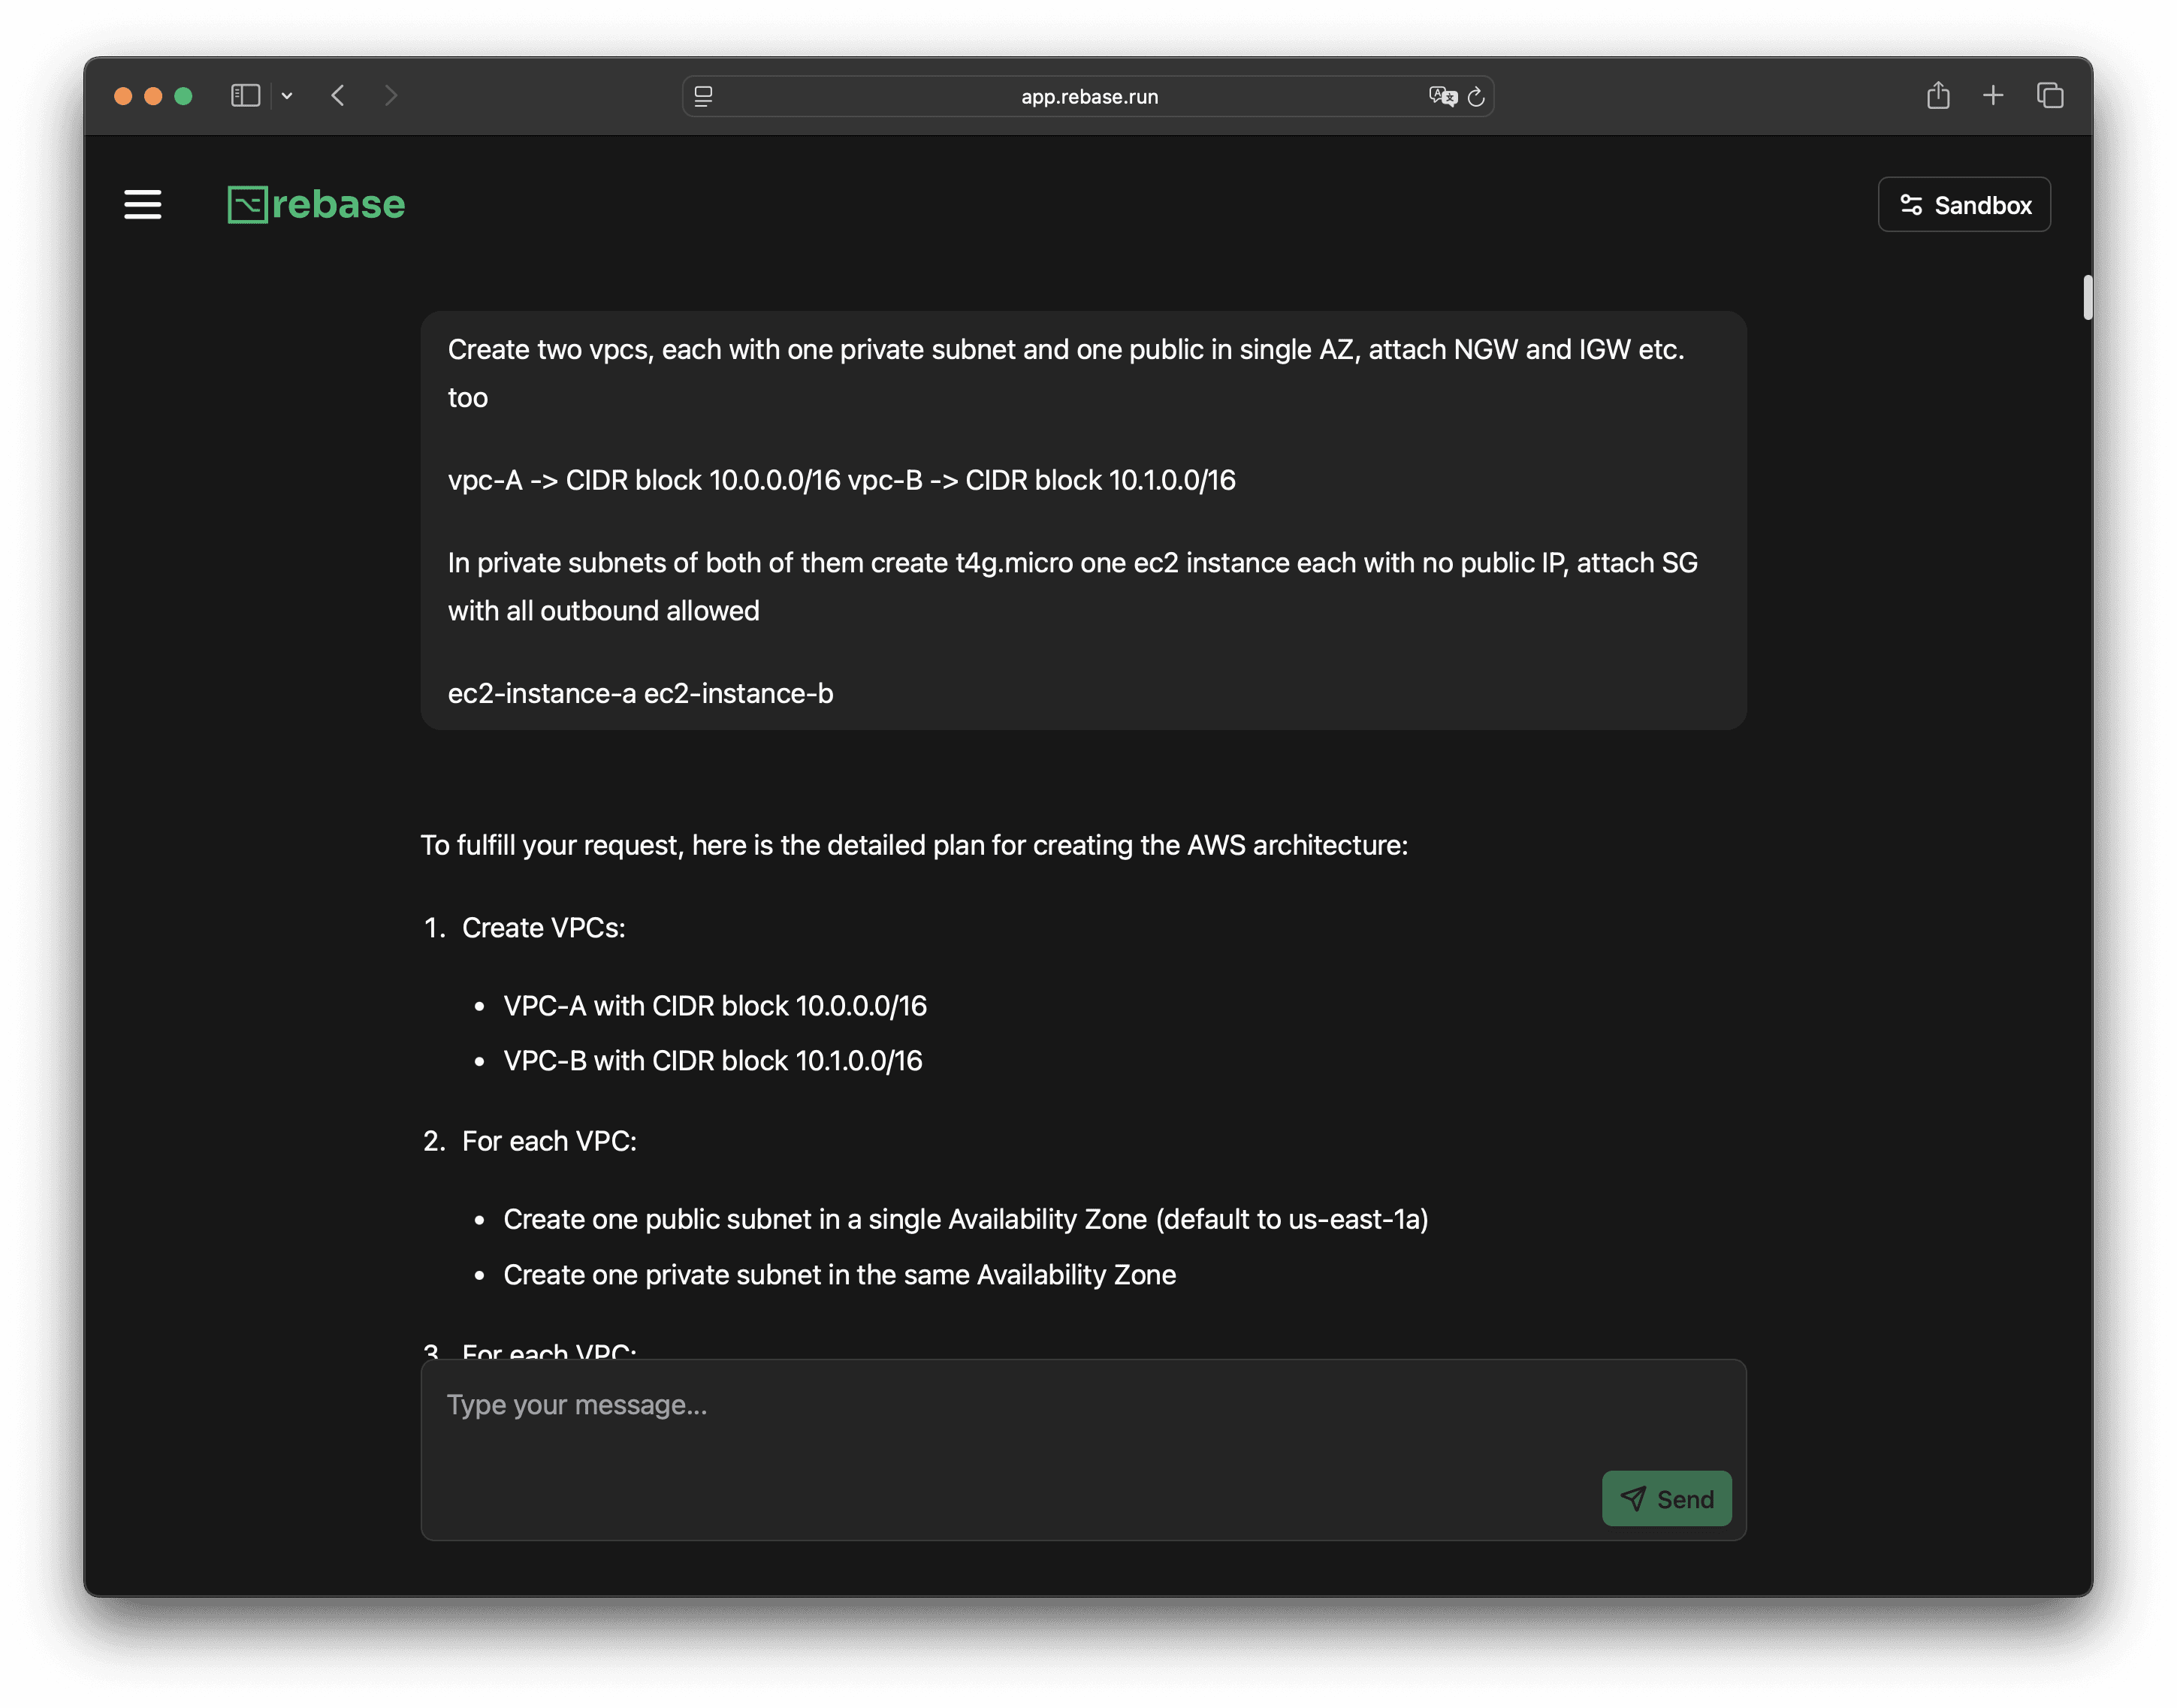
Once you answer, the agent finalizes the plan for you.

The agent asks for a quick confirmation to make sure everything looks right.
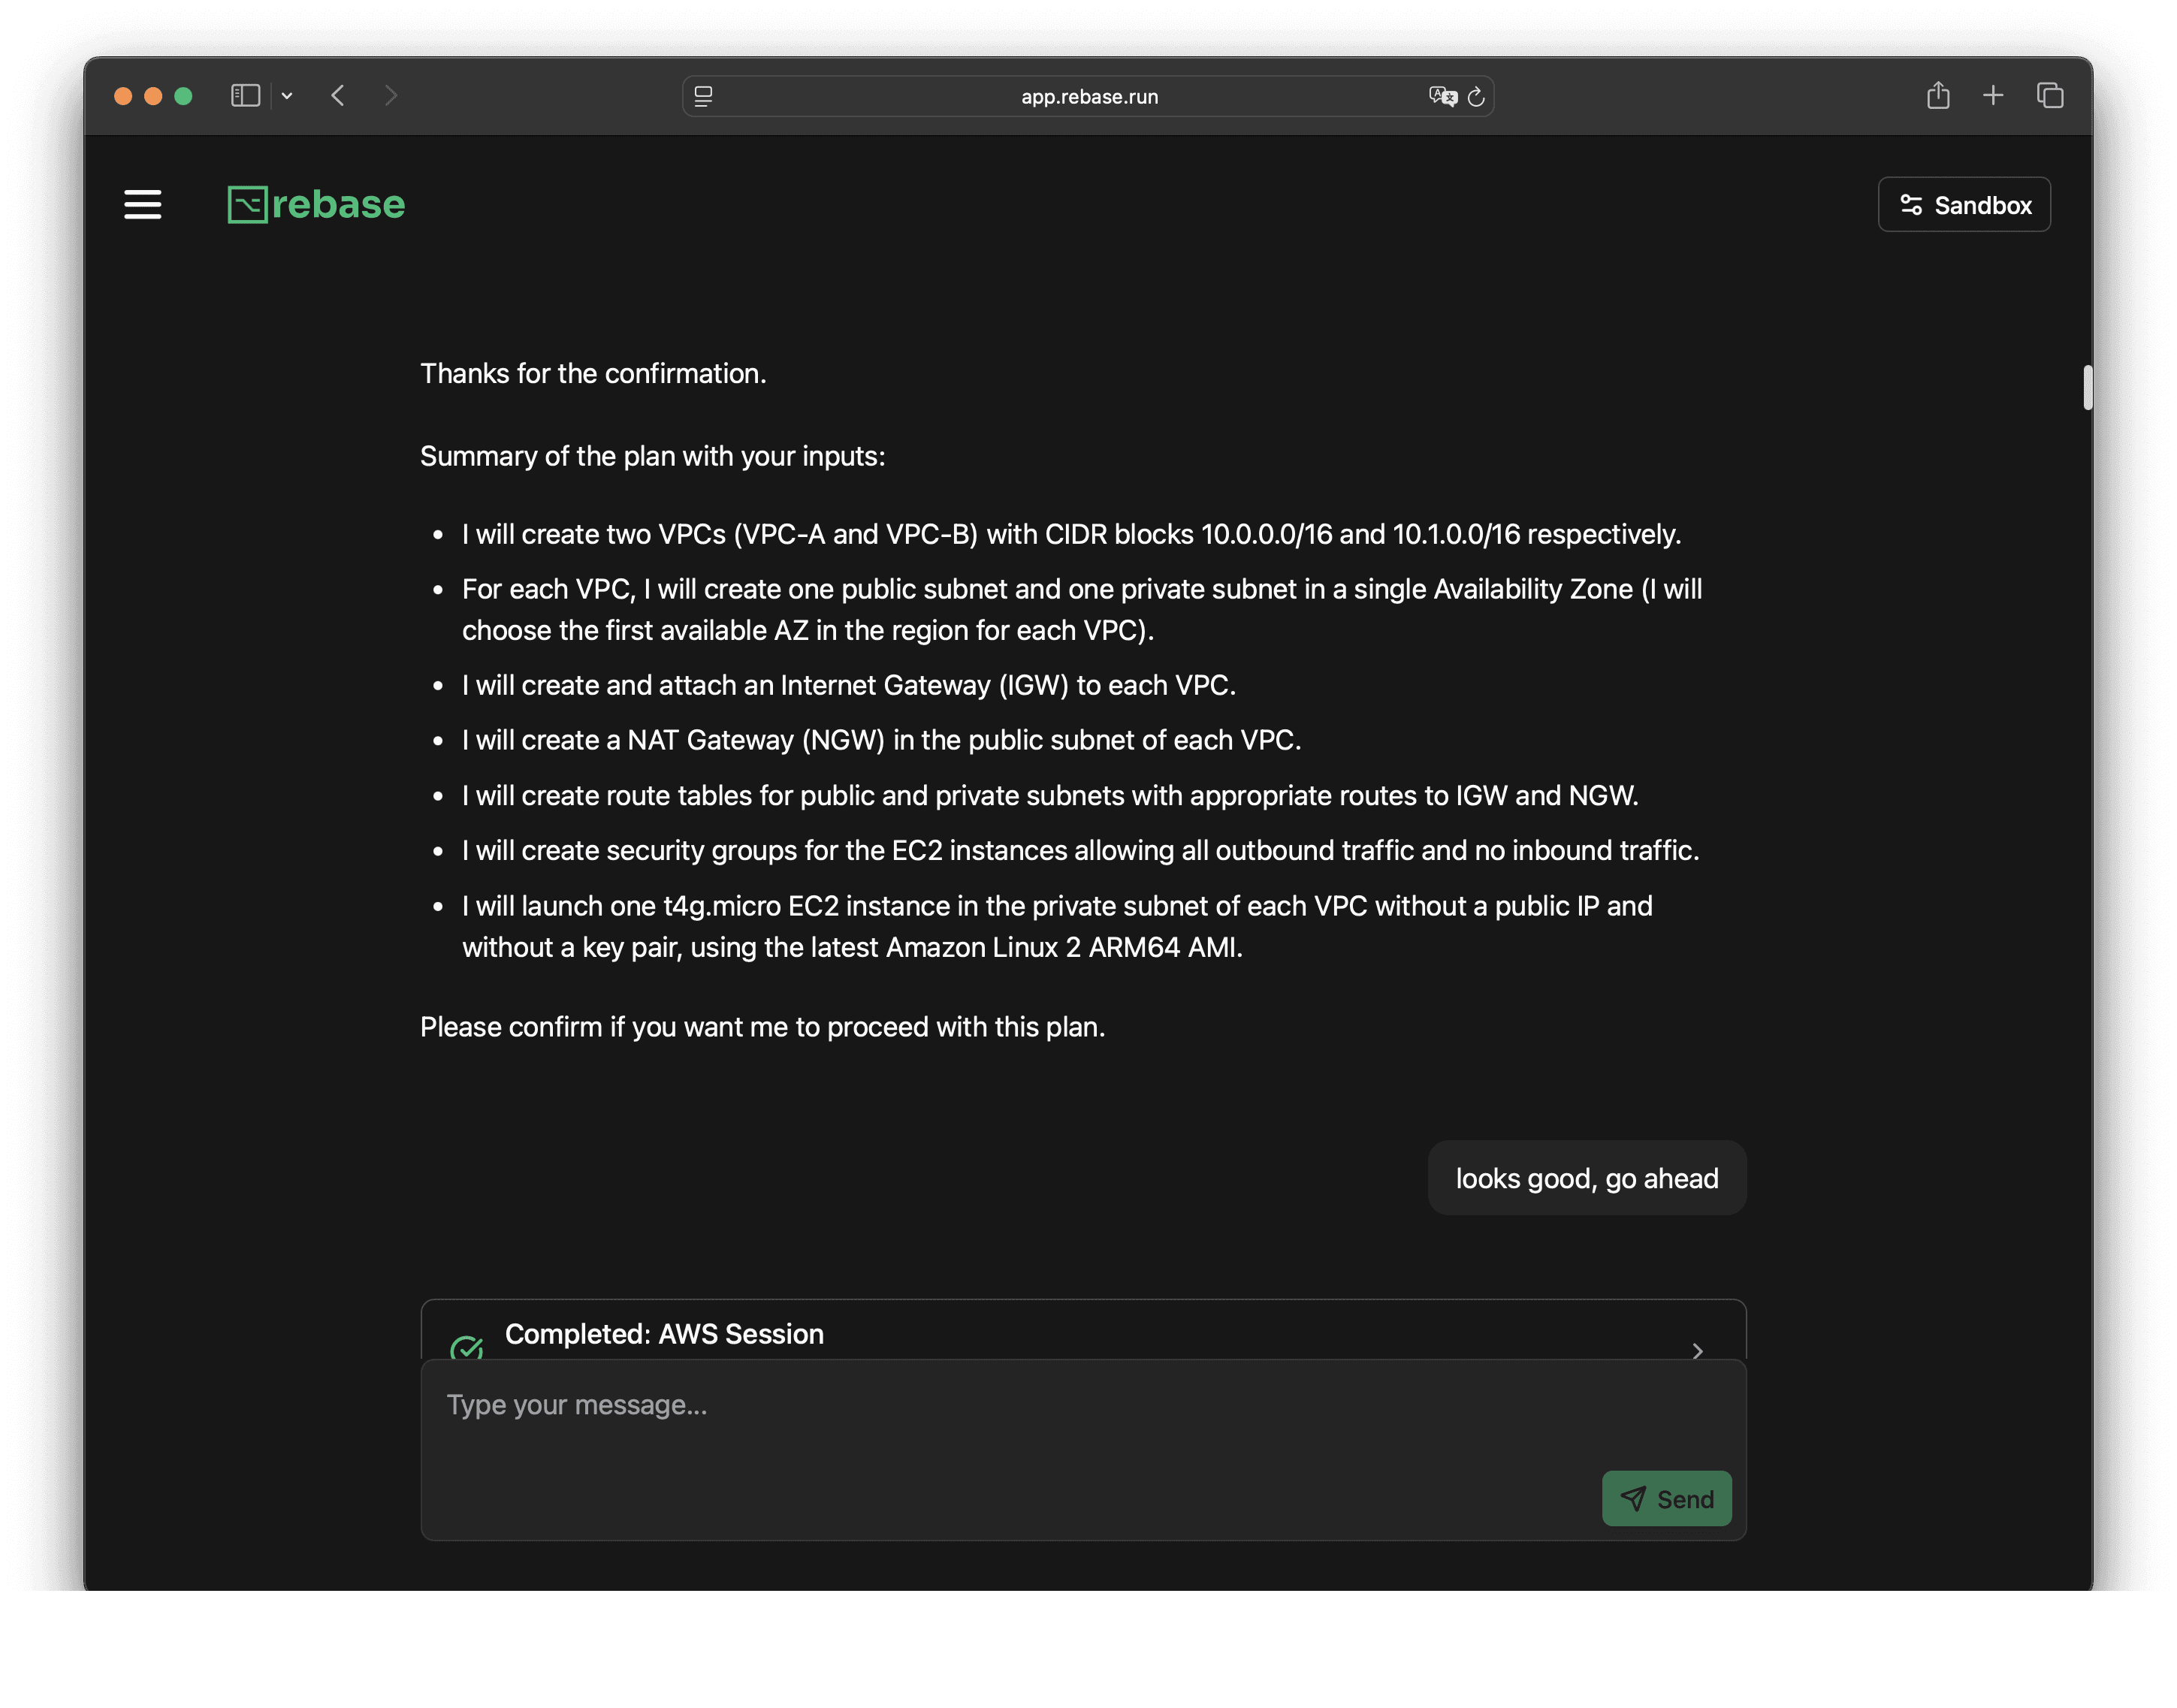
After you confirm, the agent goes ahead and provisions everything.
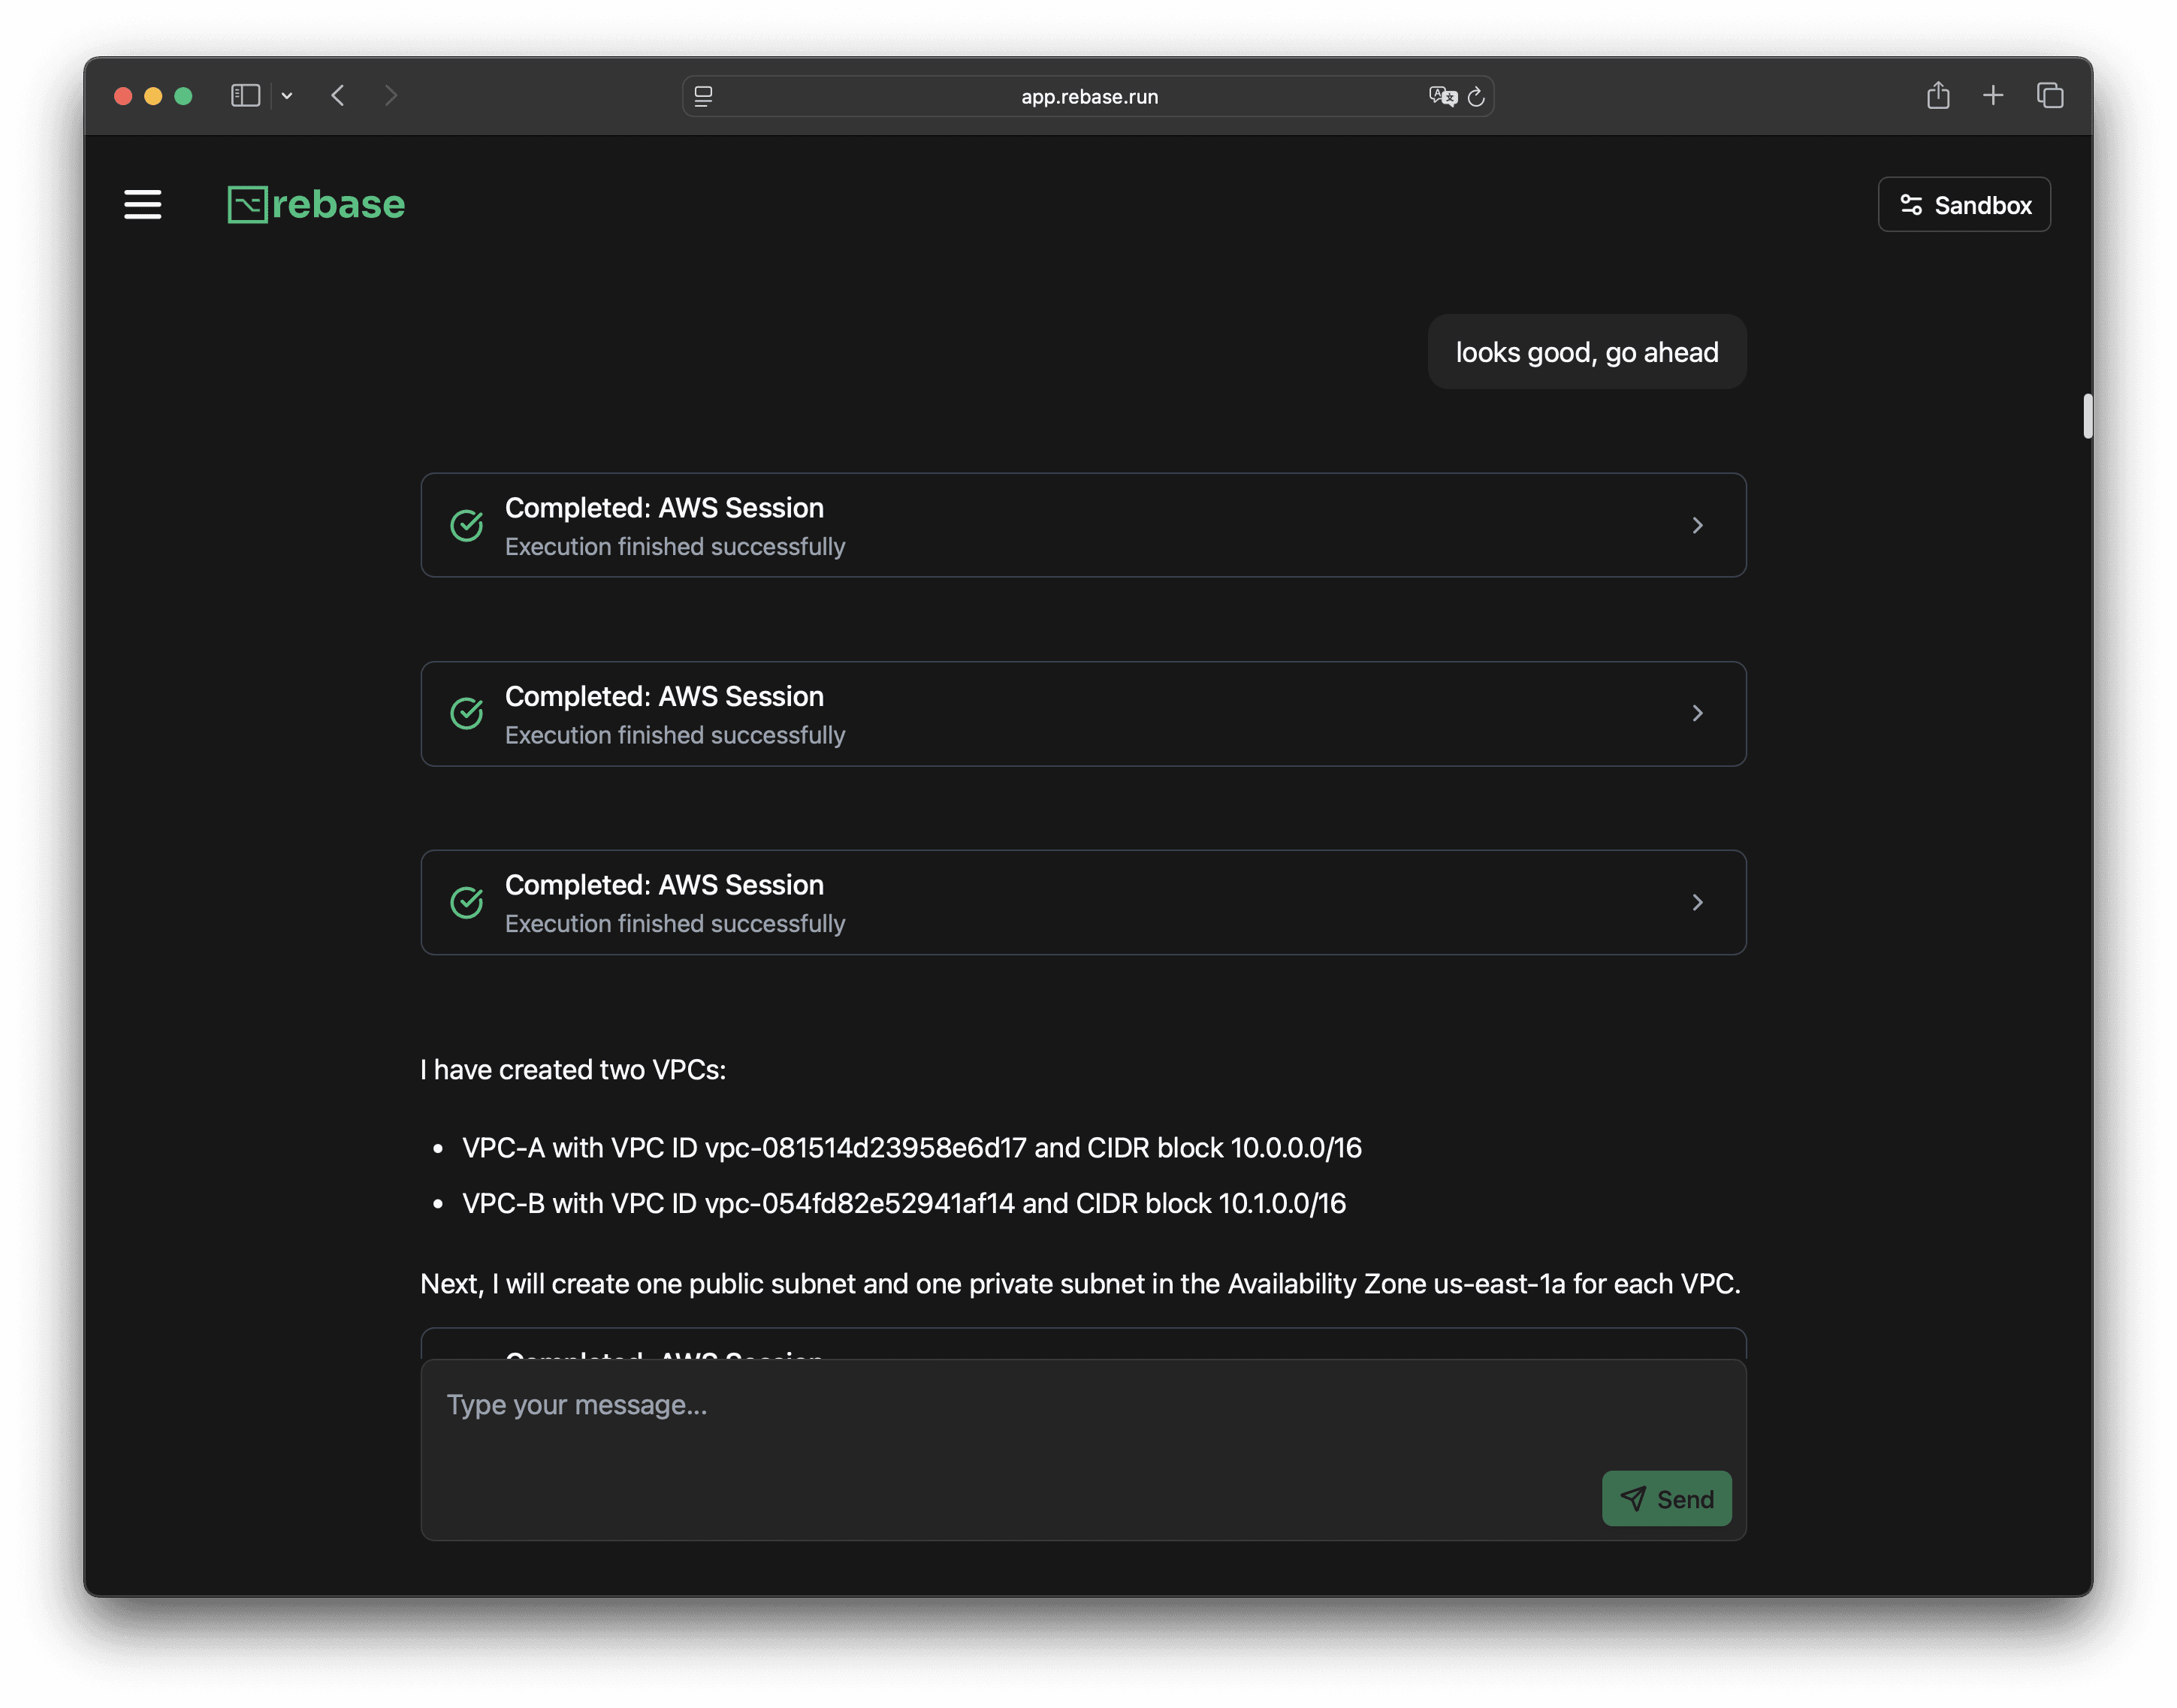
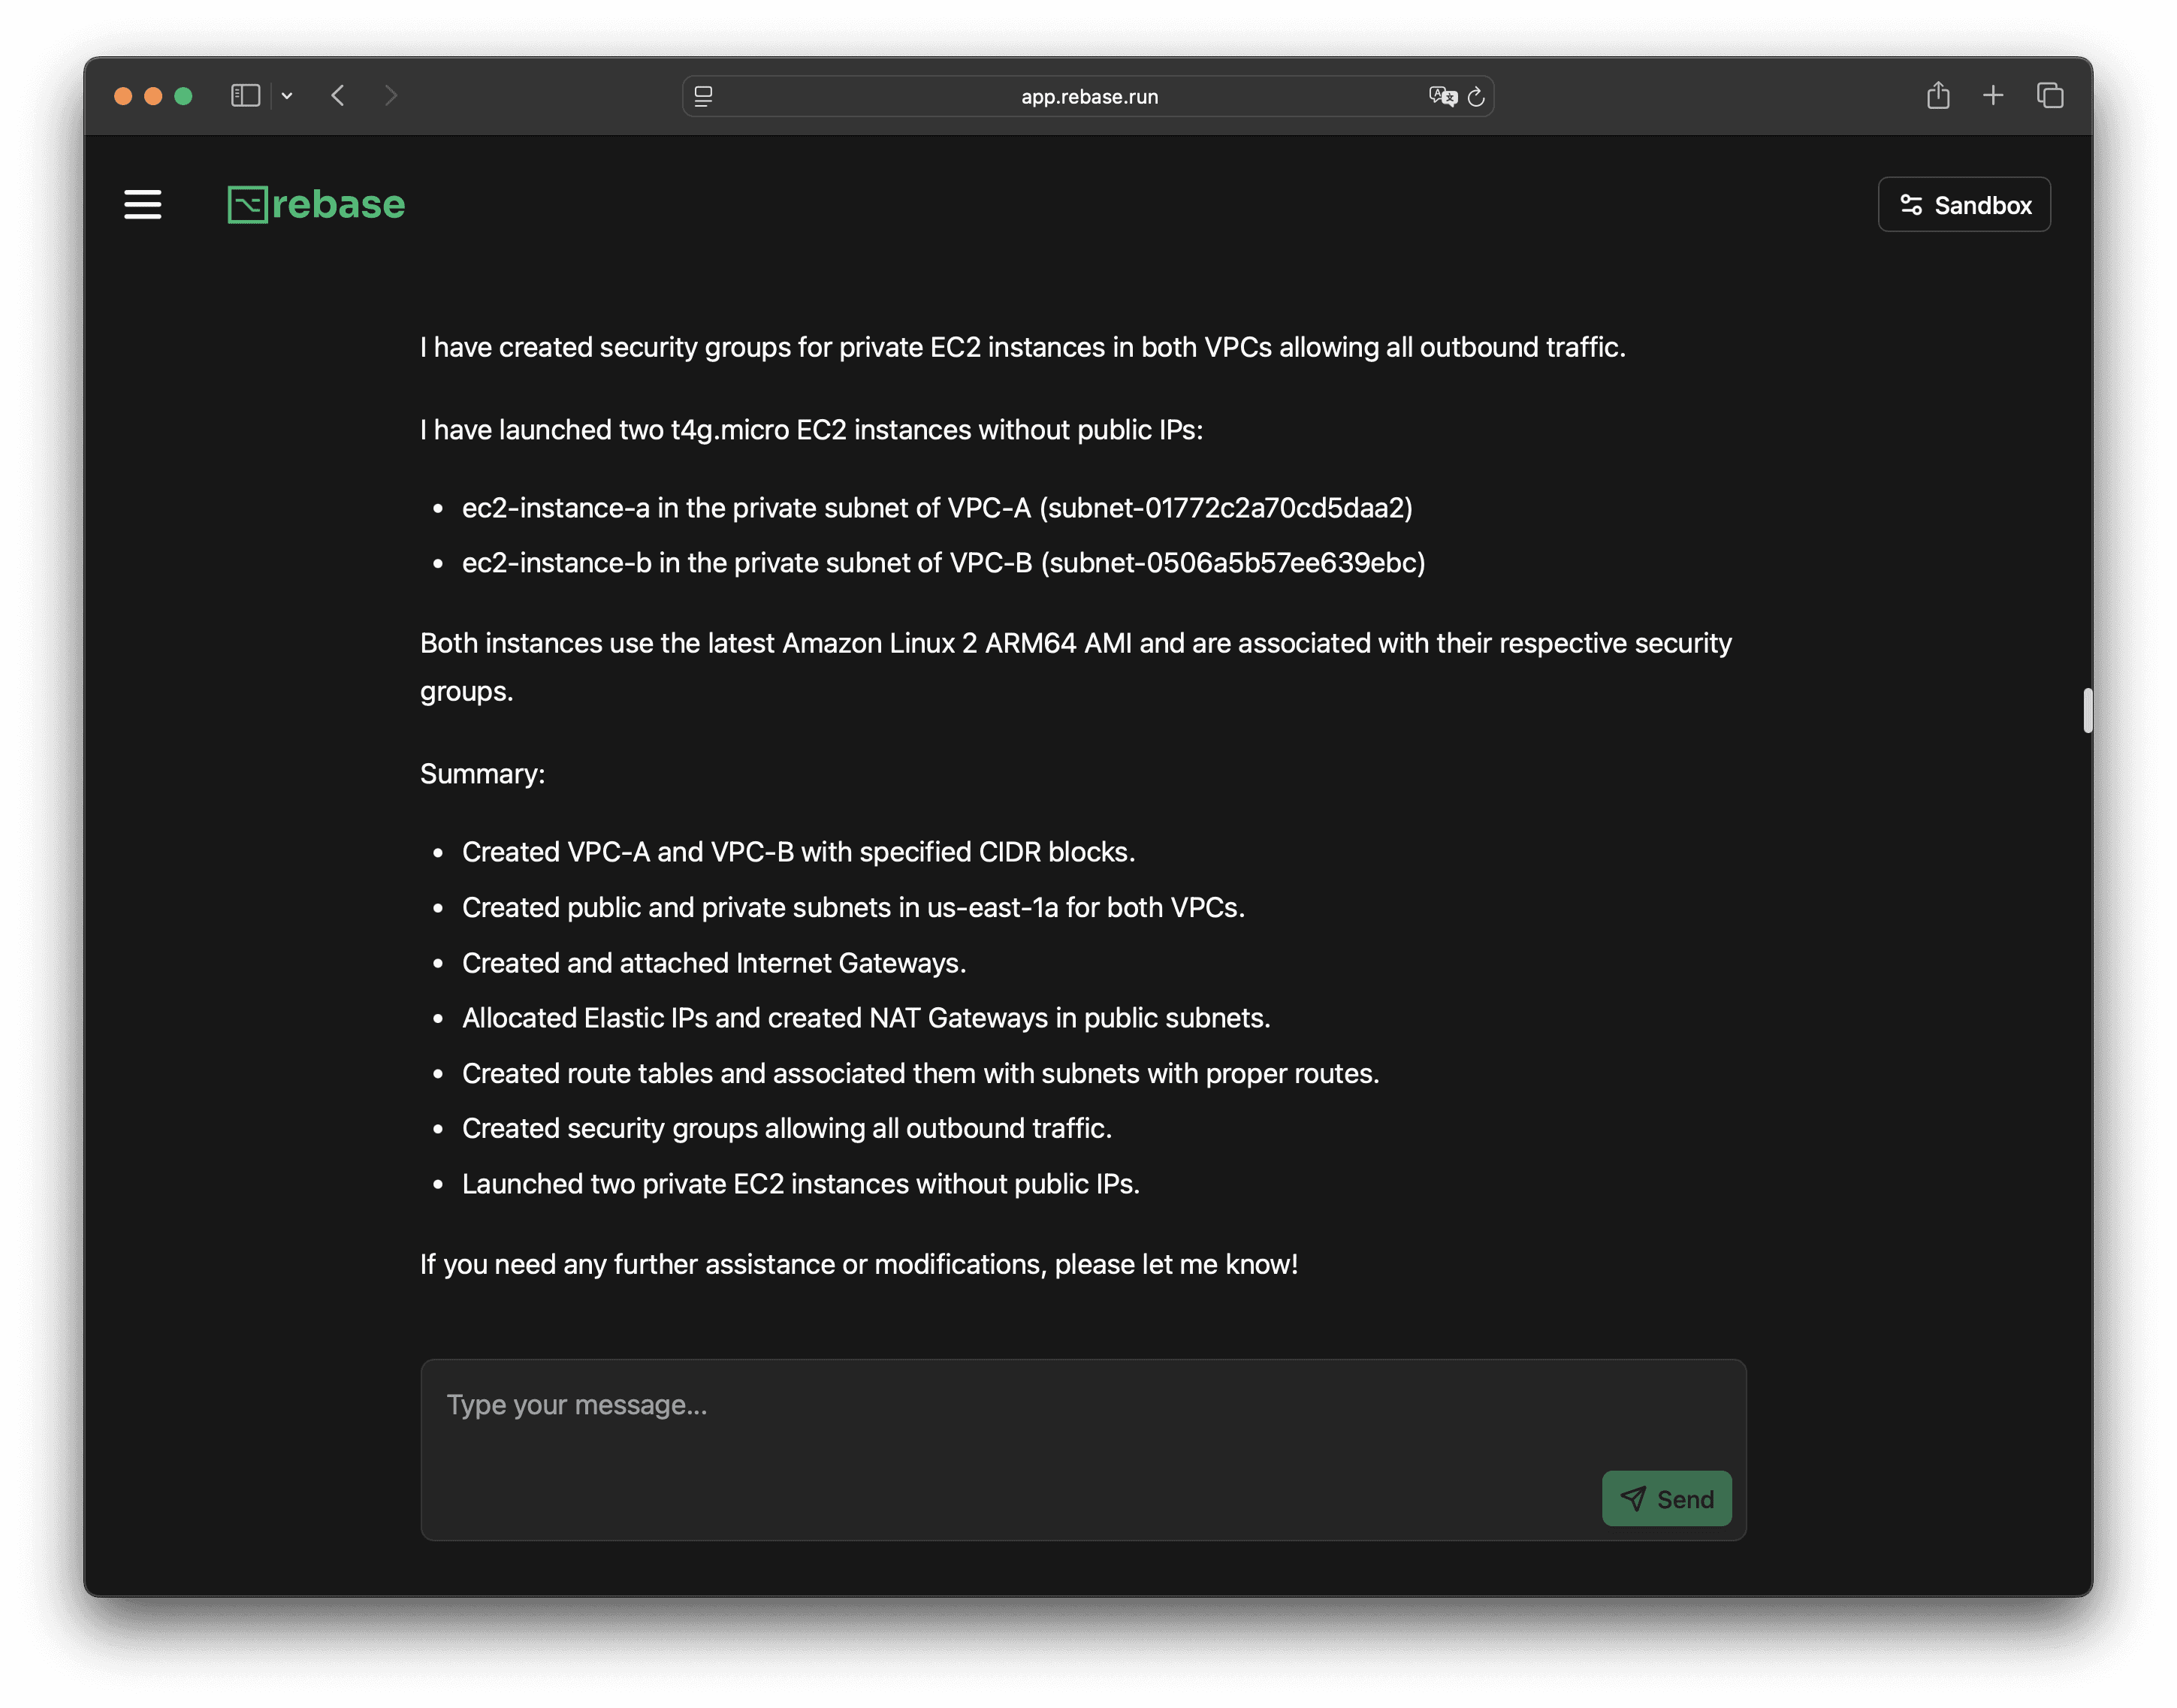
When it’s done, you’ll get a summary of everything it created. You can see all the details here.
Now grab those VPC and subnet IDs. Let’s try connecting to an EC2 instance in one of these VPCs using AWS SSM (Session Manager).
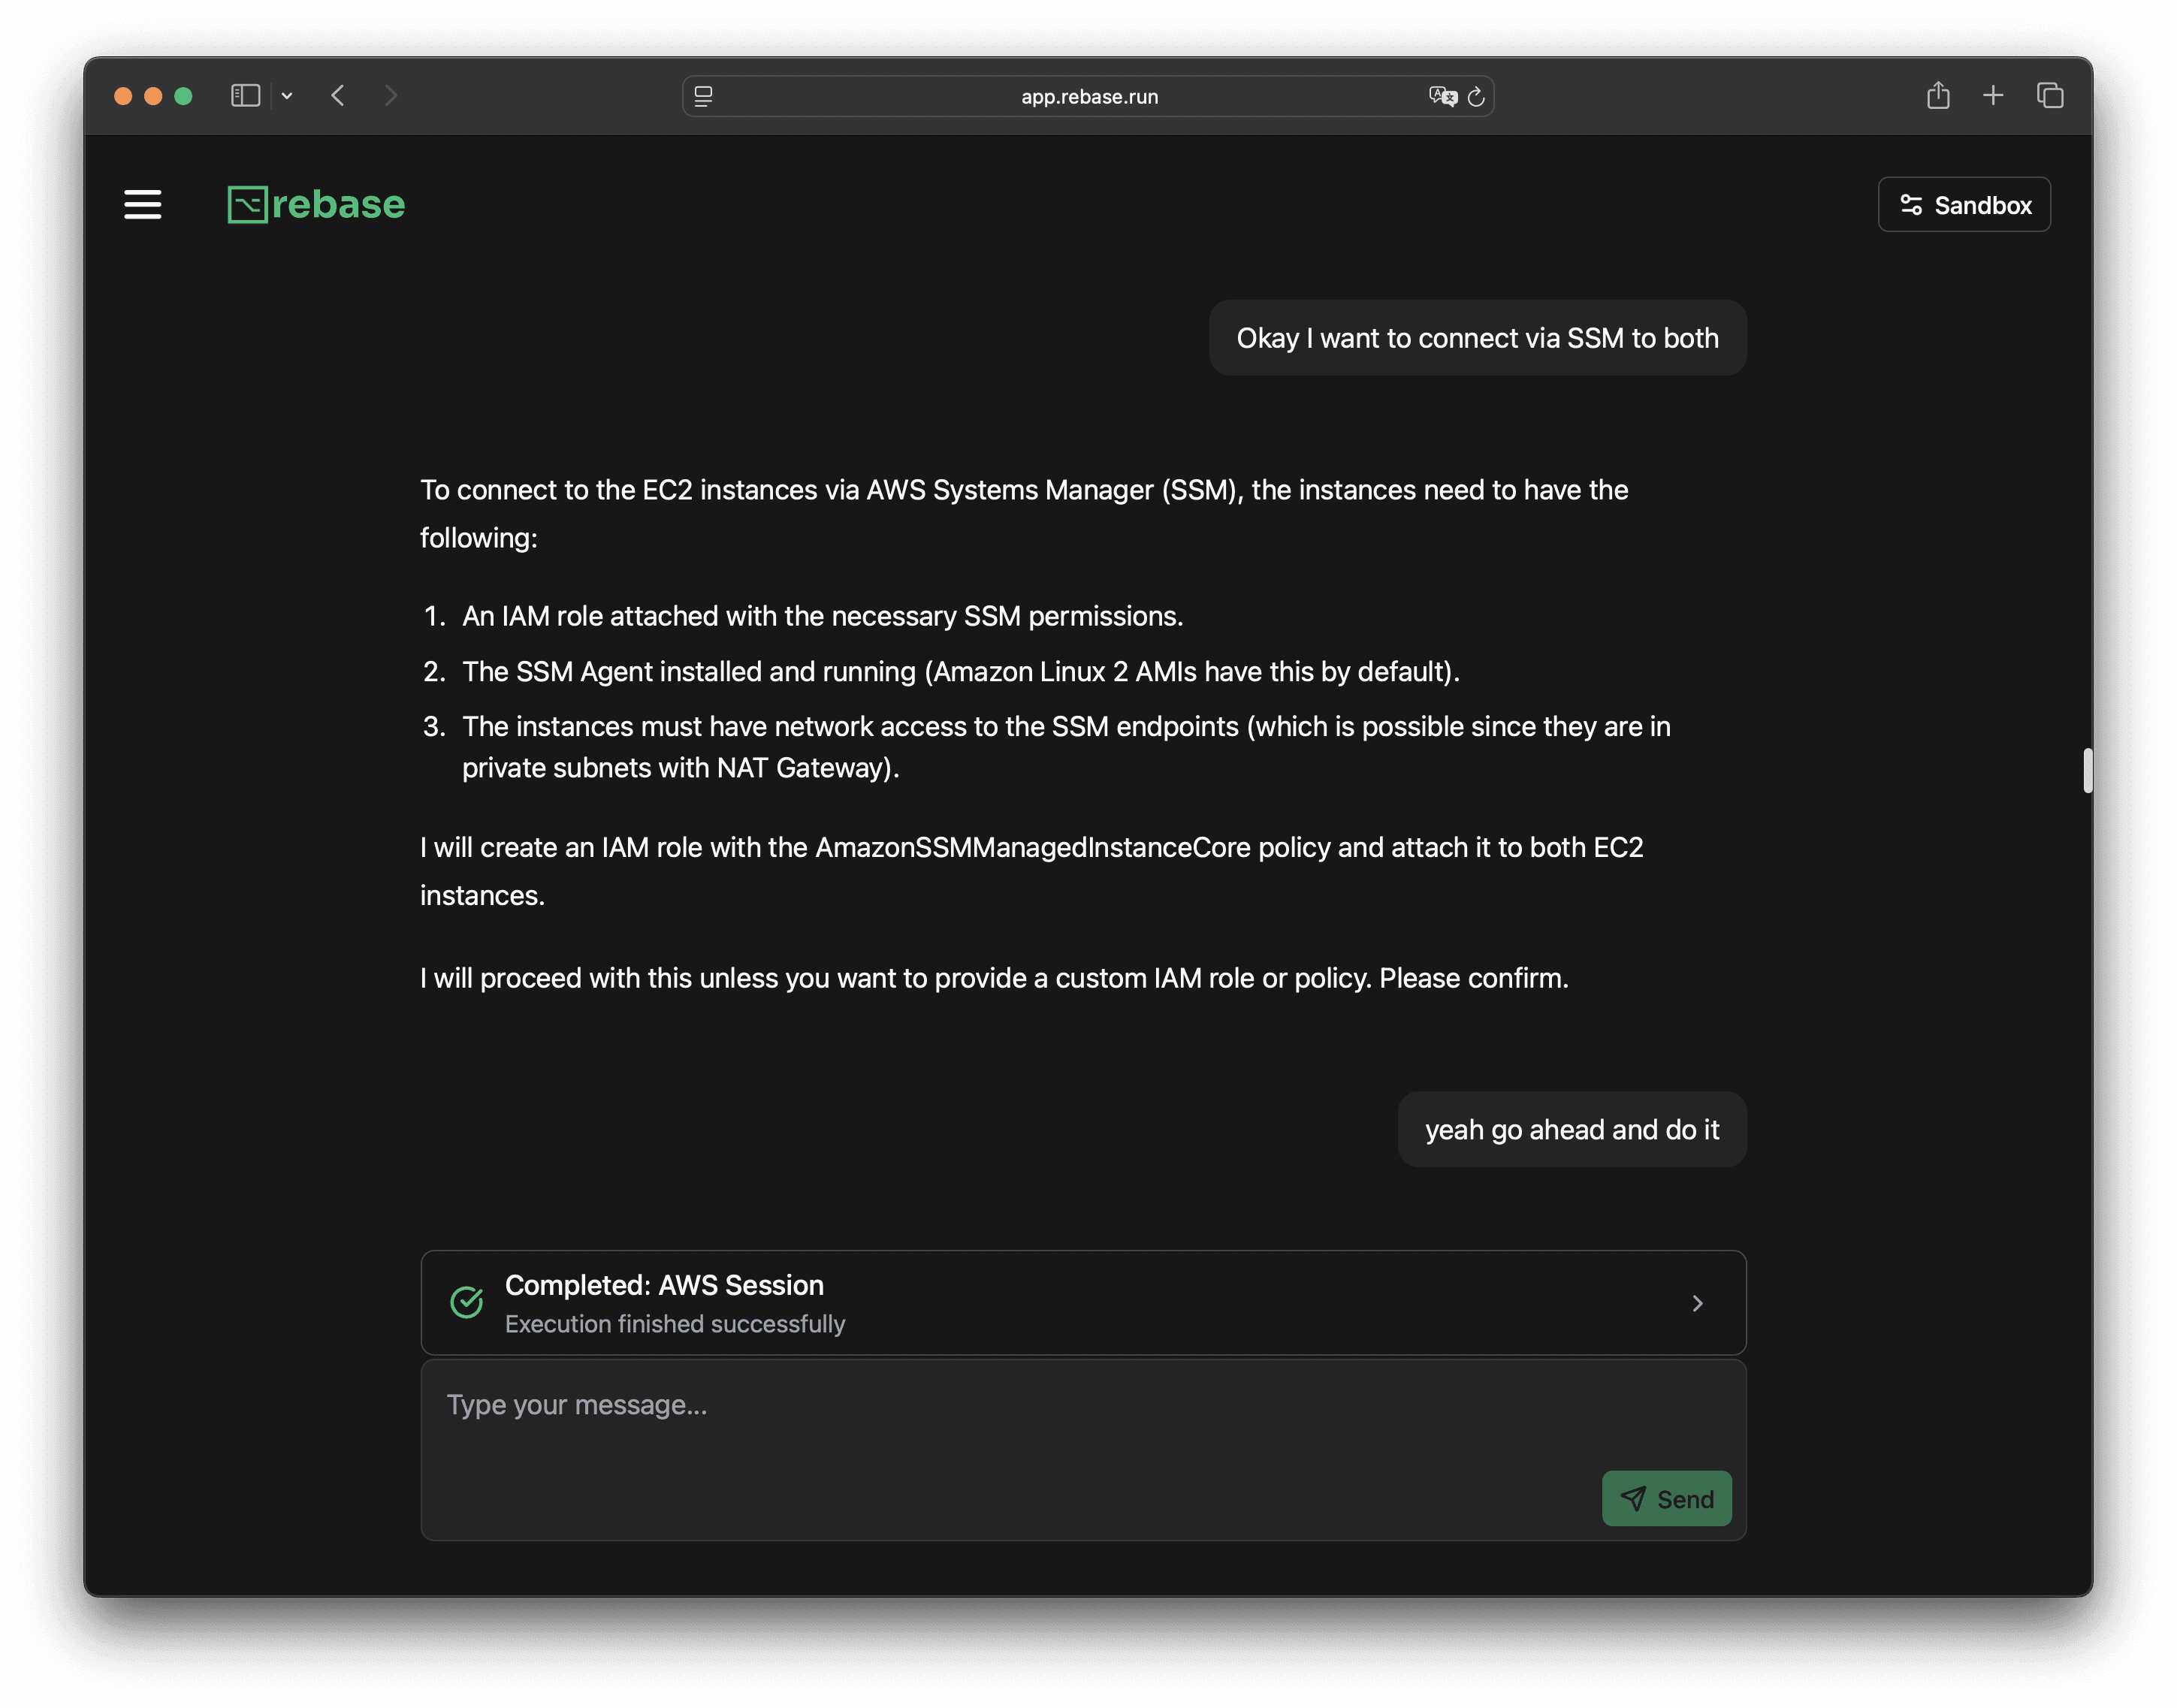
When you tell the agent you want to access EC2 via SSM, it will ask for confirmation and take care of the setup.
After it’s done, it will let you know that everything is set up and ready.
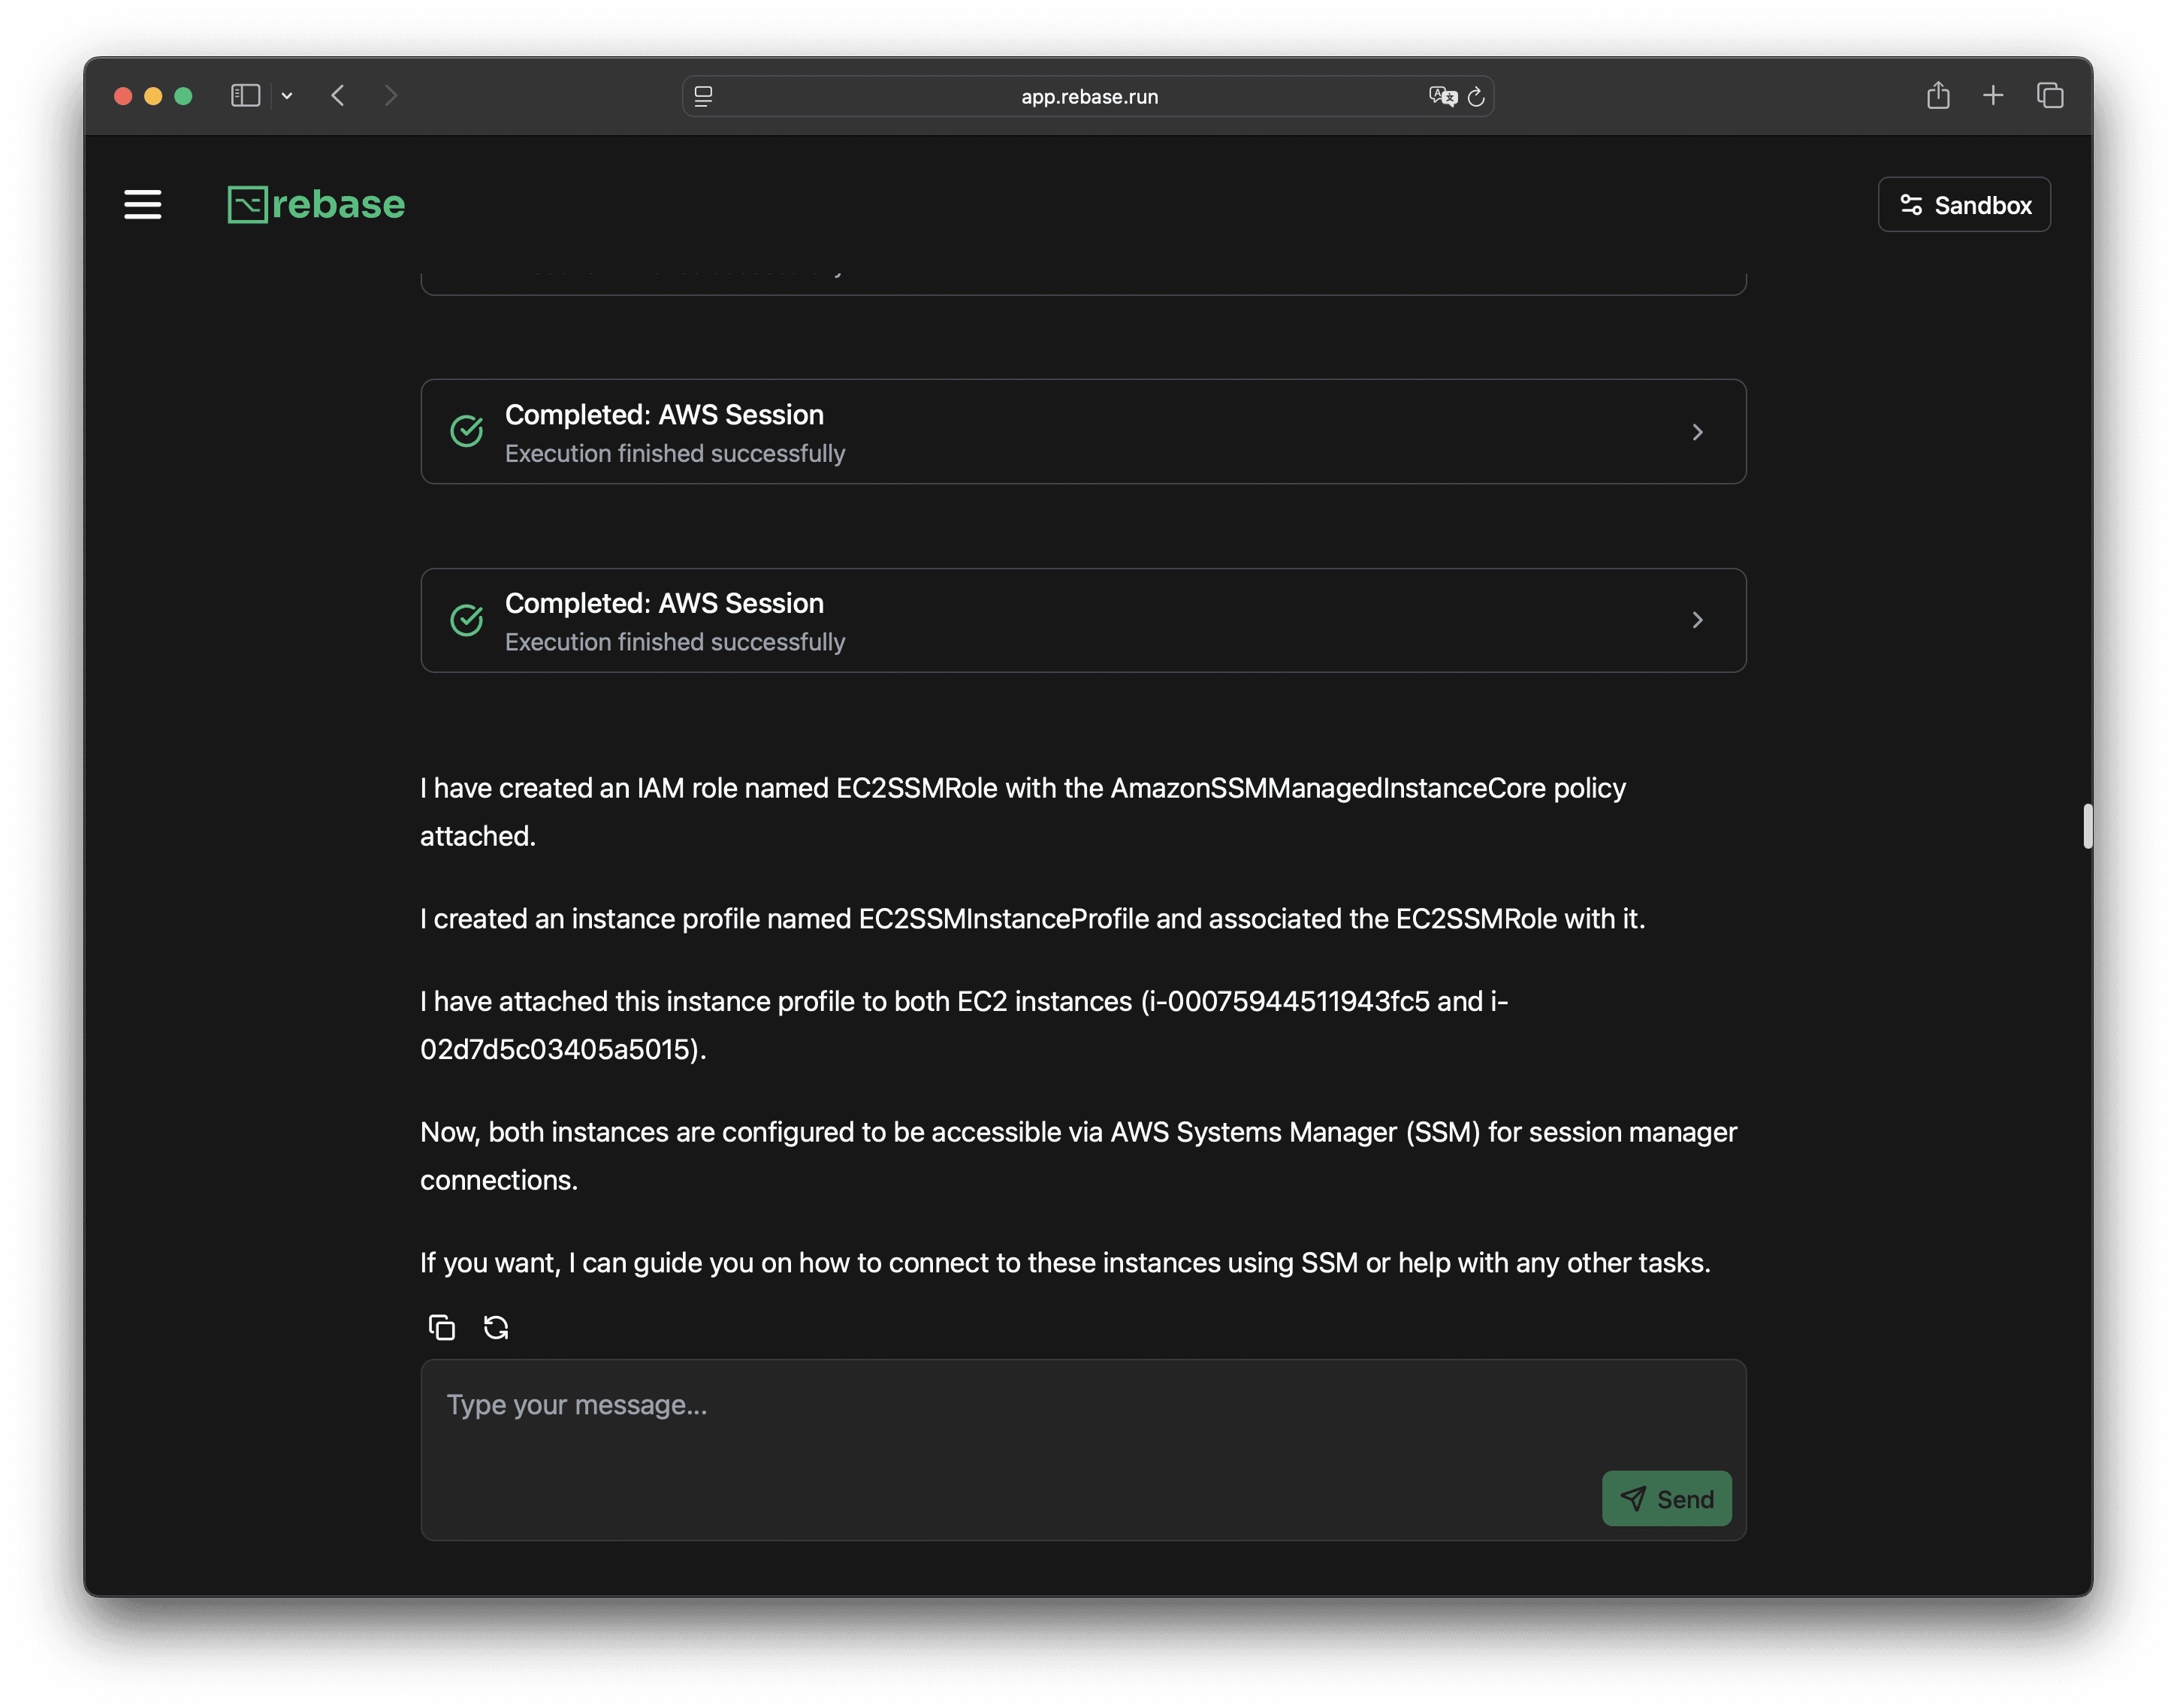
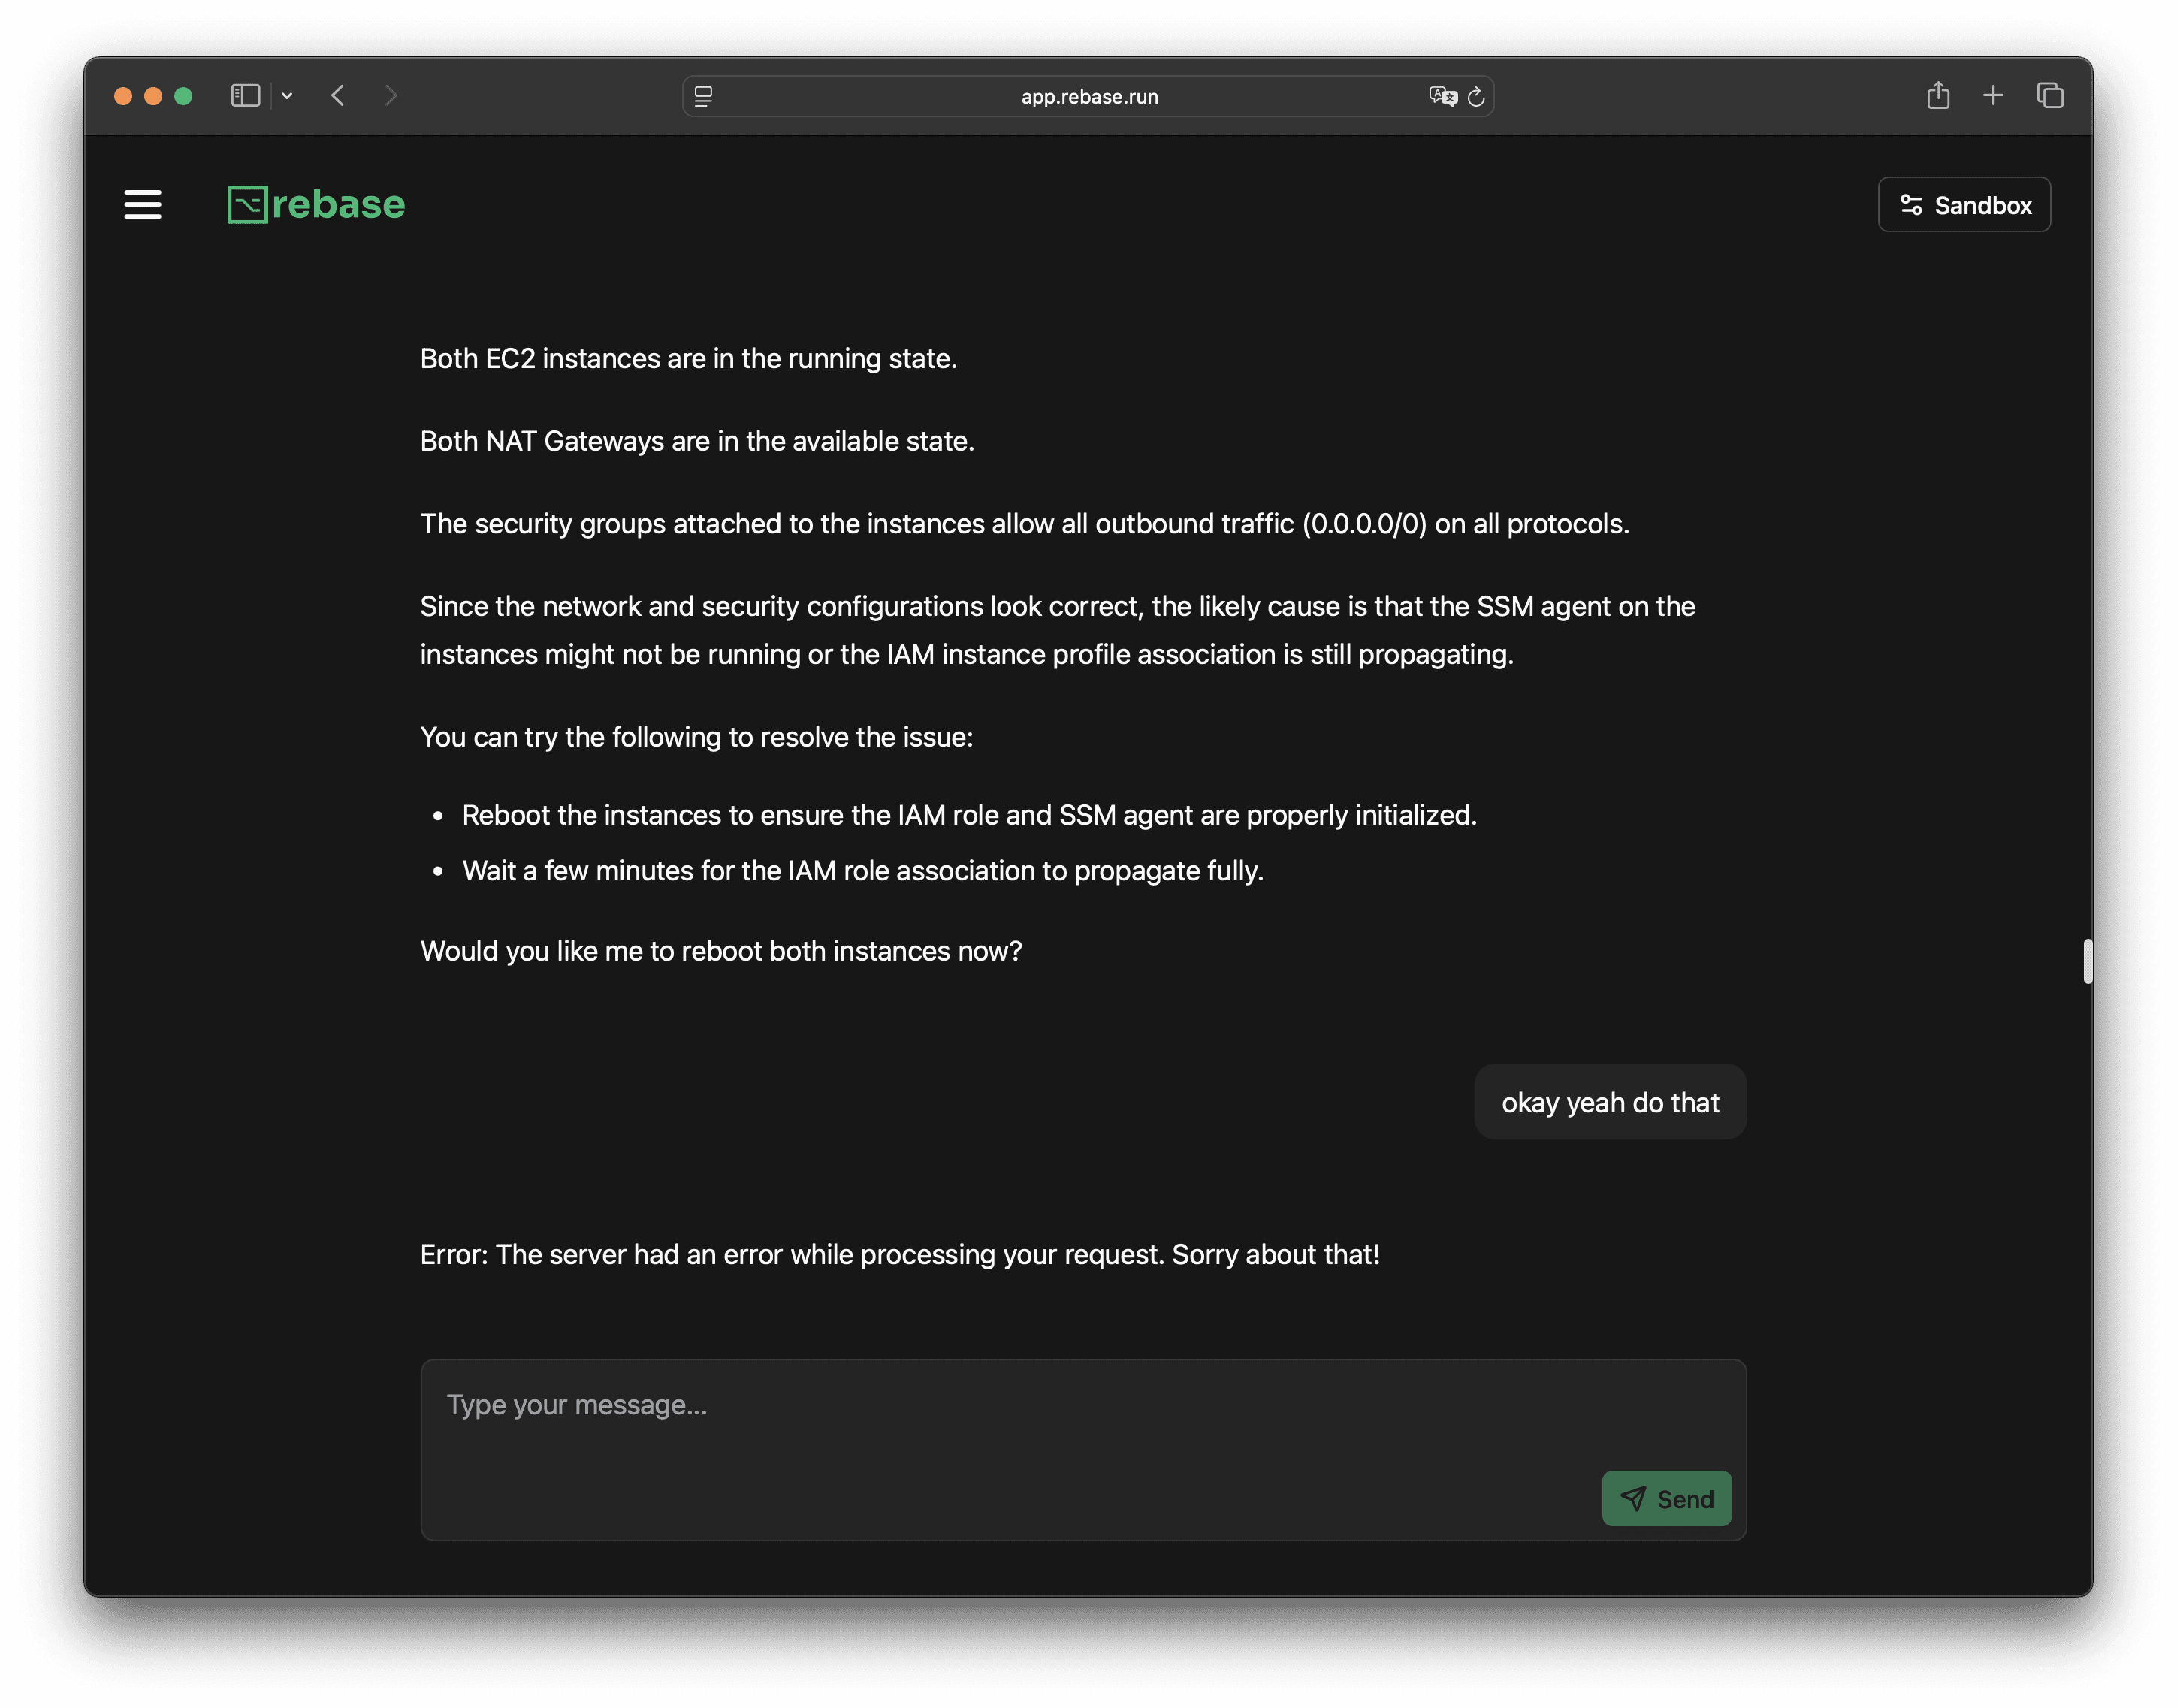
You’ll see the exact commands you need to connect through AWS SSM.

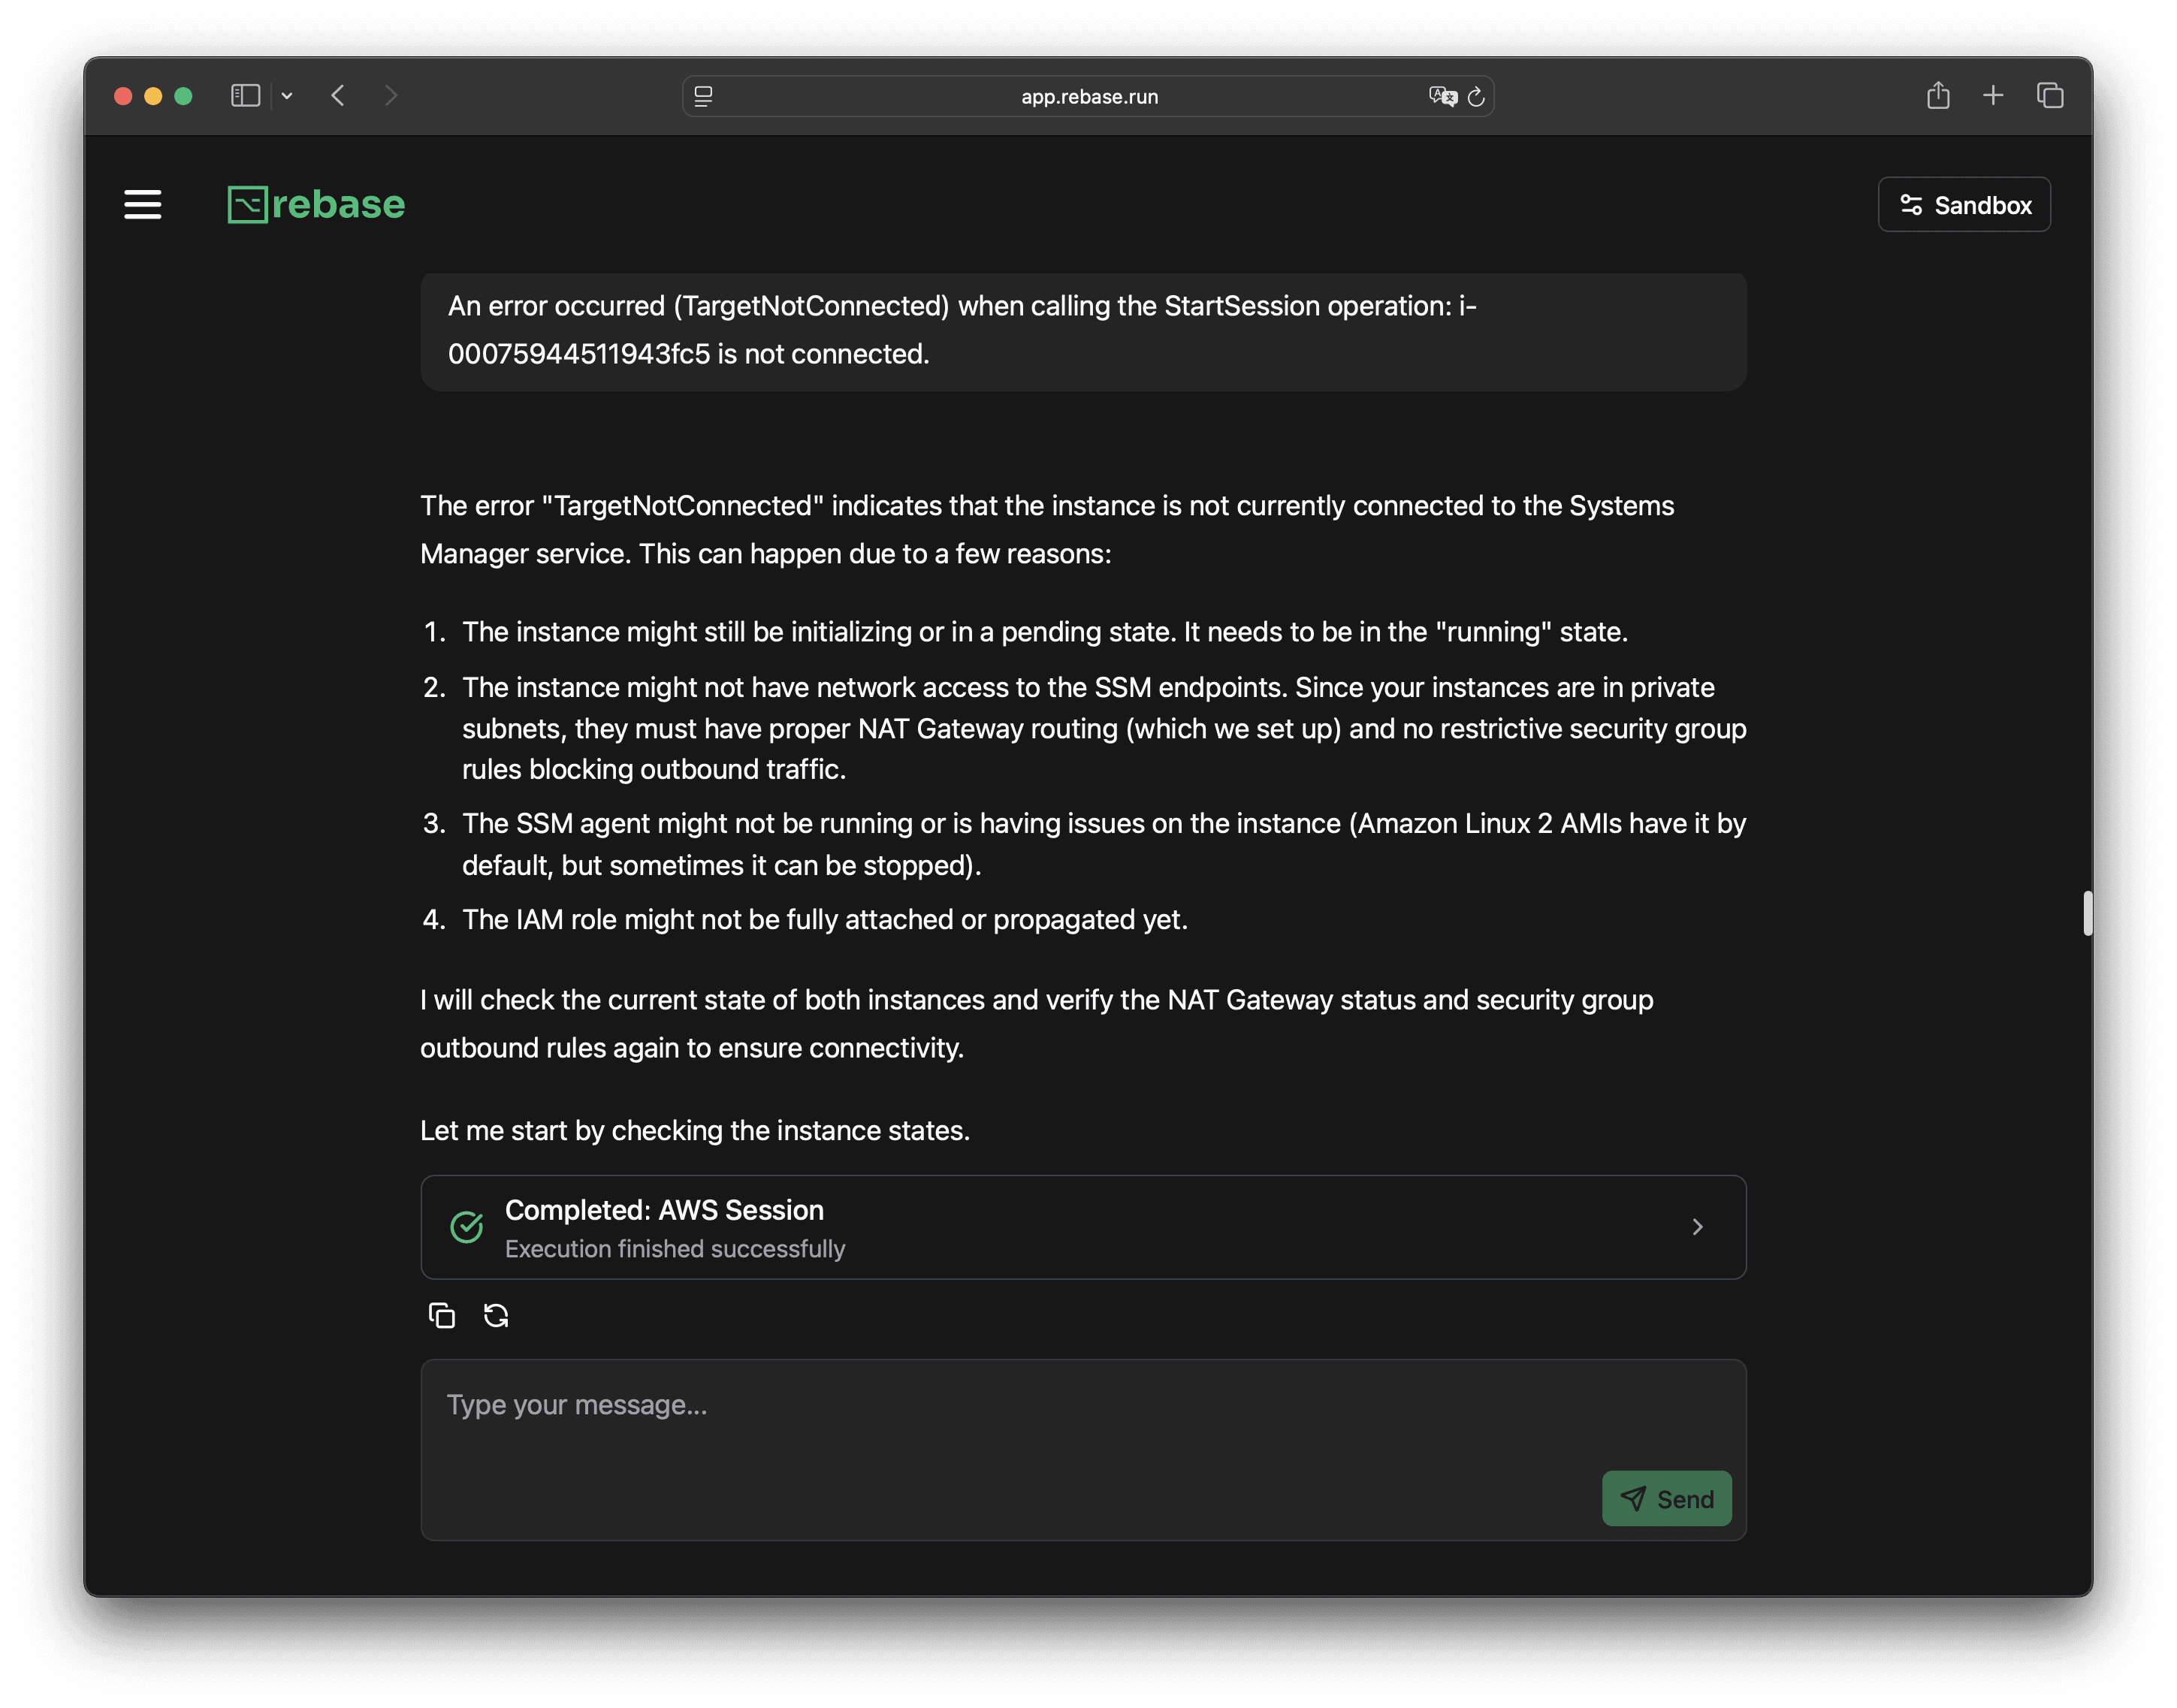
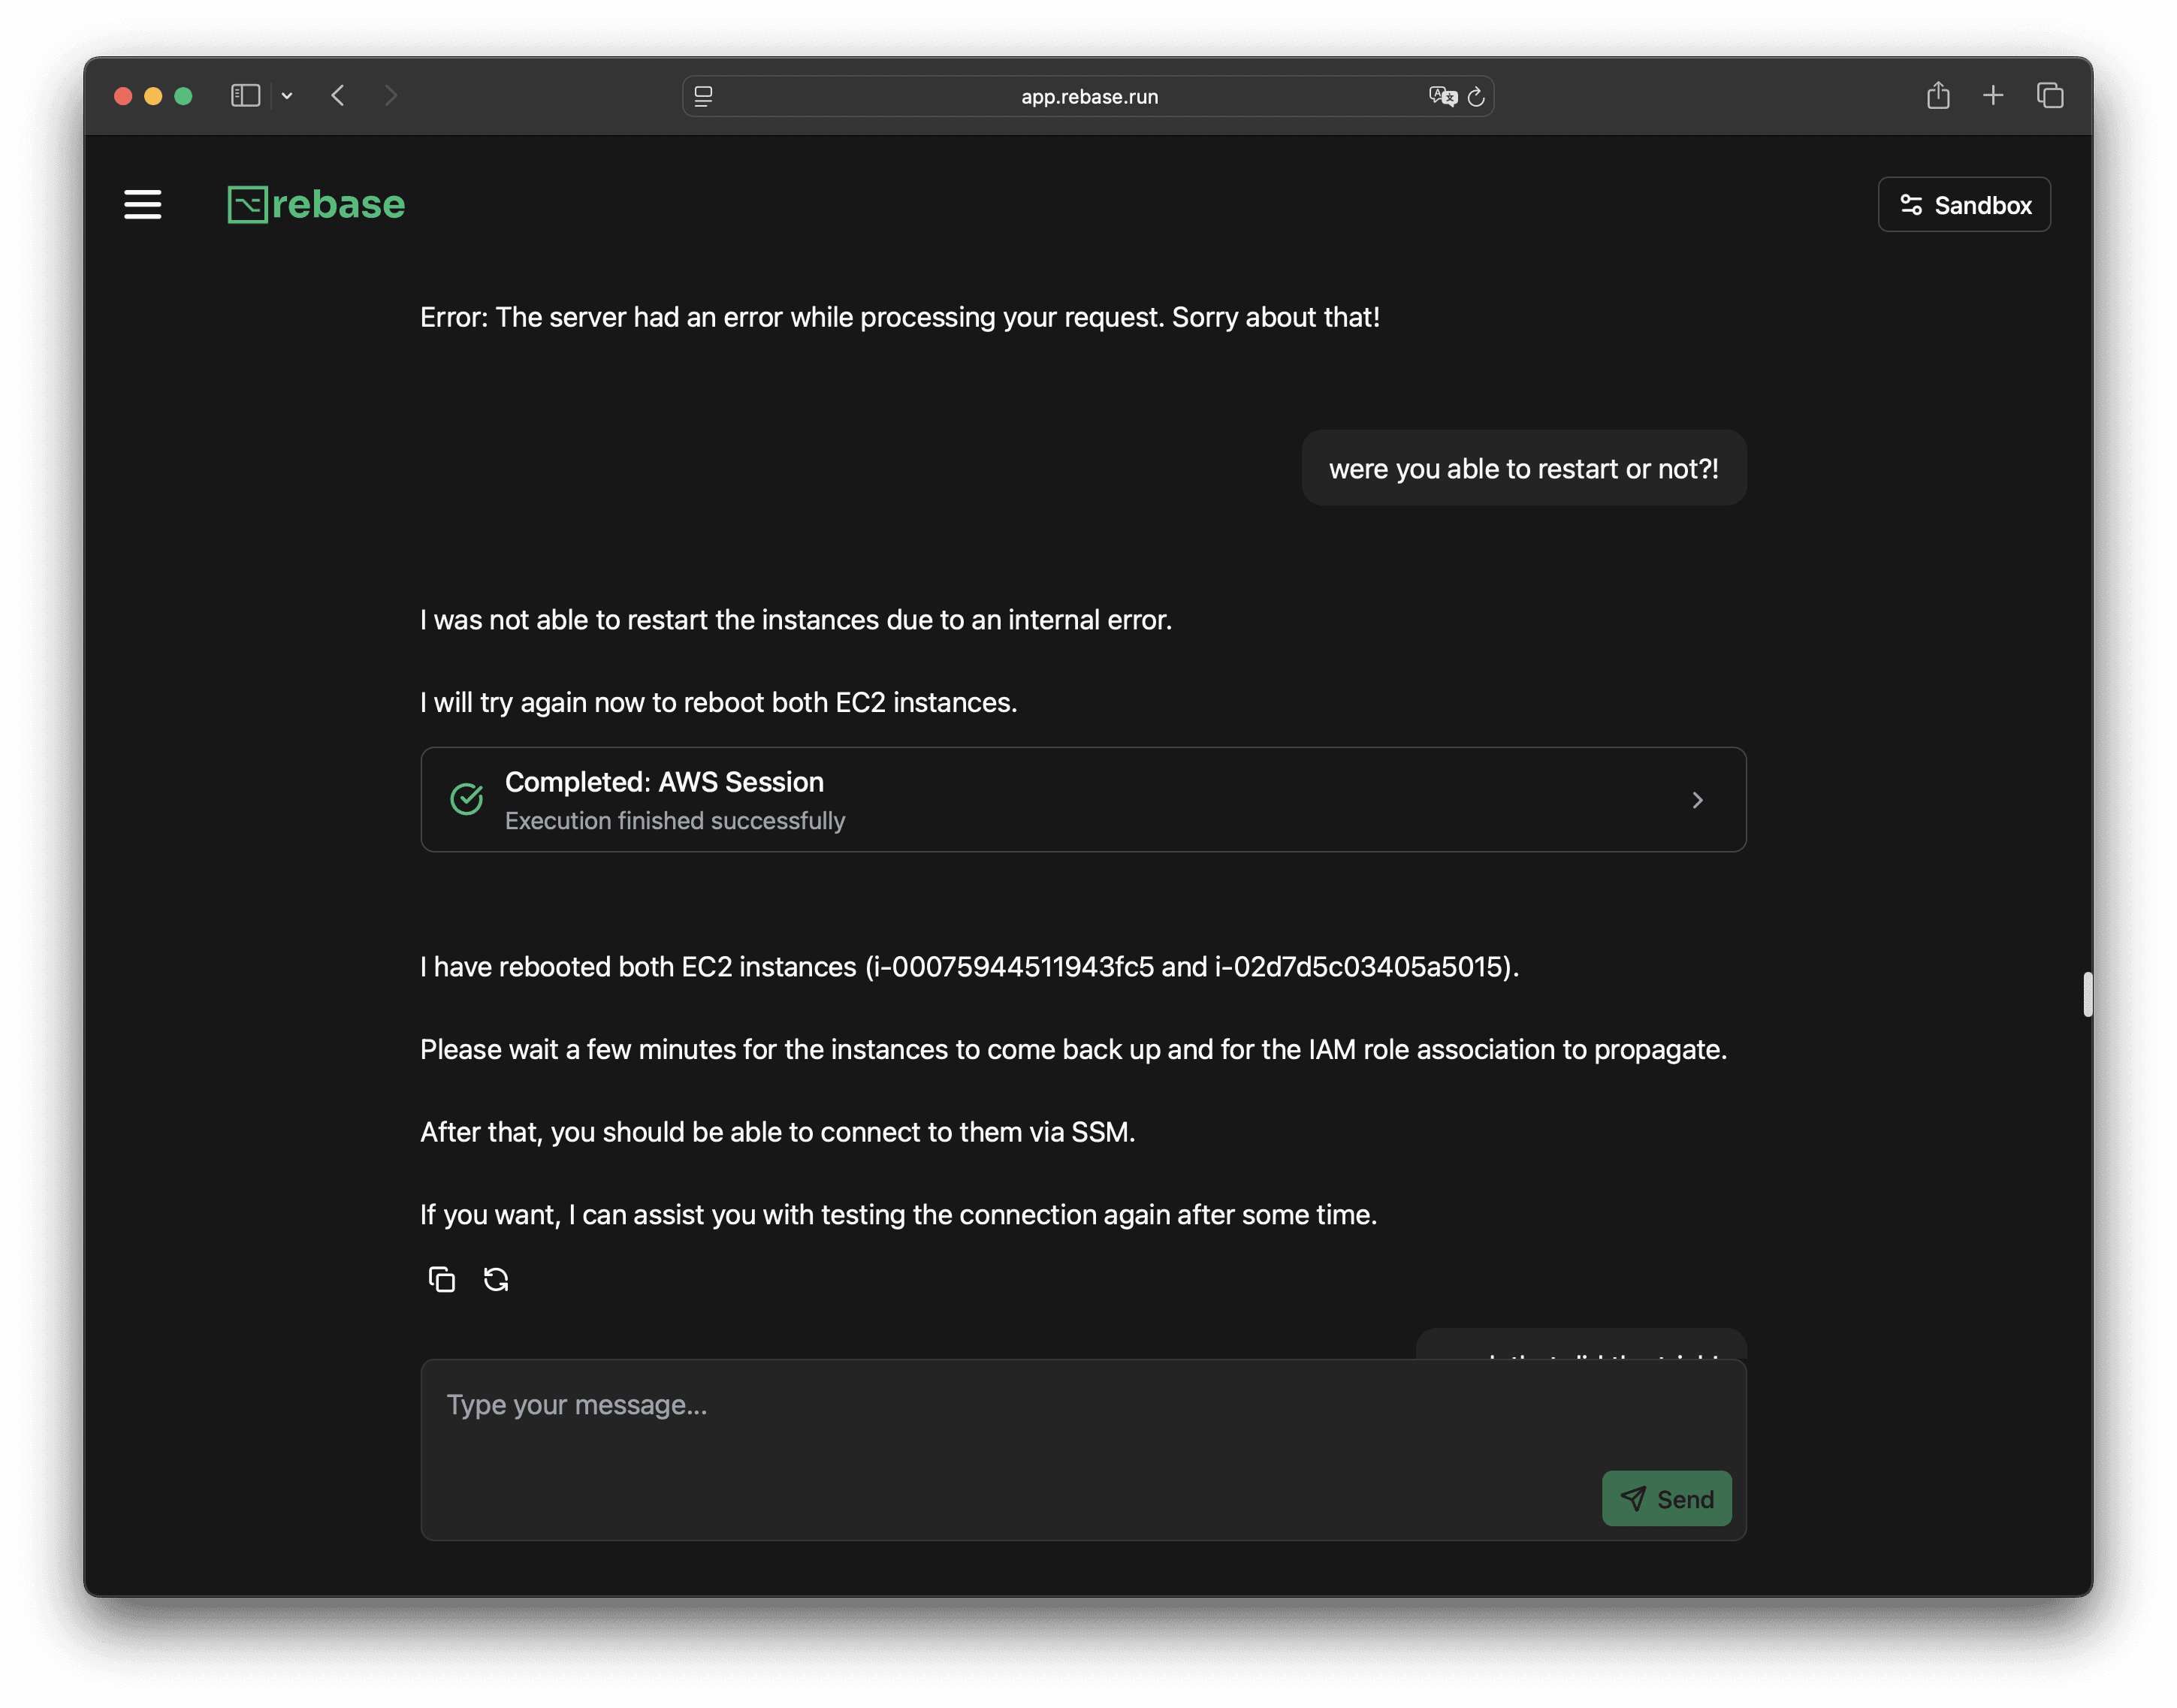
If you hit any errors, just tell the agent and it will troubleshoot and fix things for you.
It’ll walk you through any follow-up steps if you need more help.
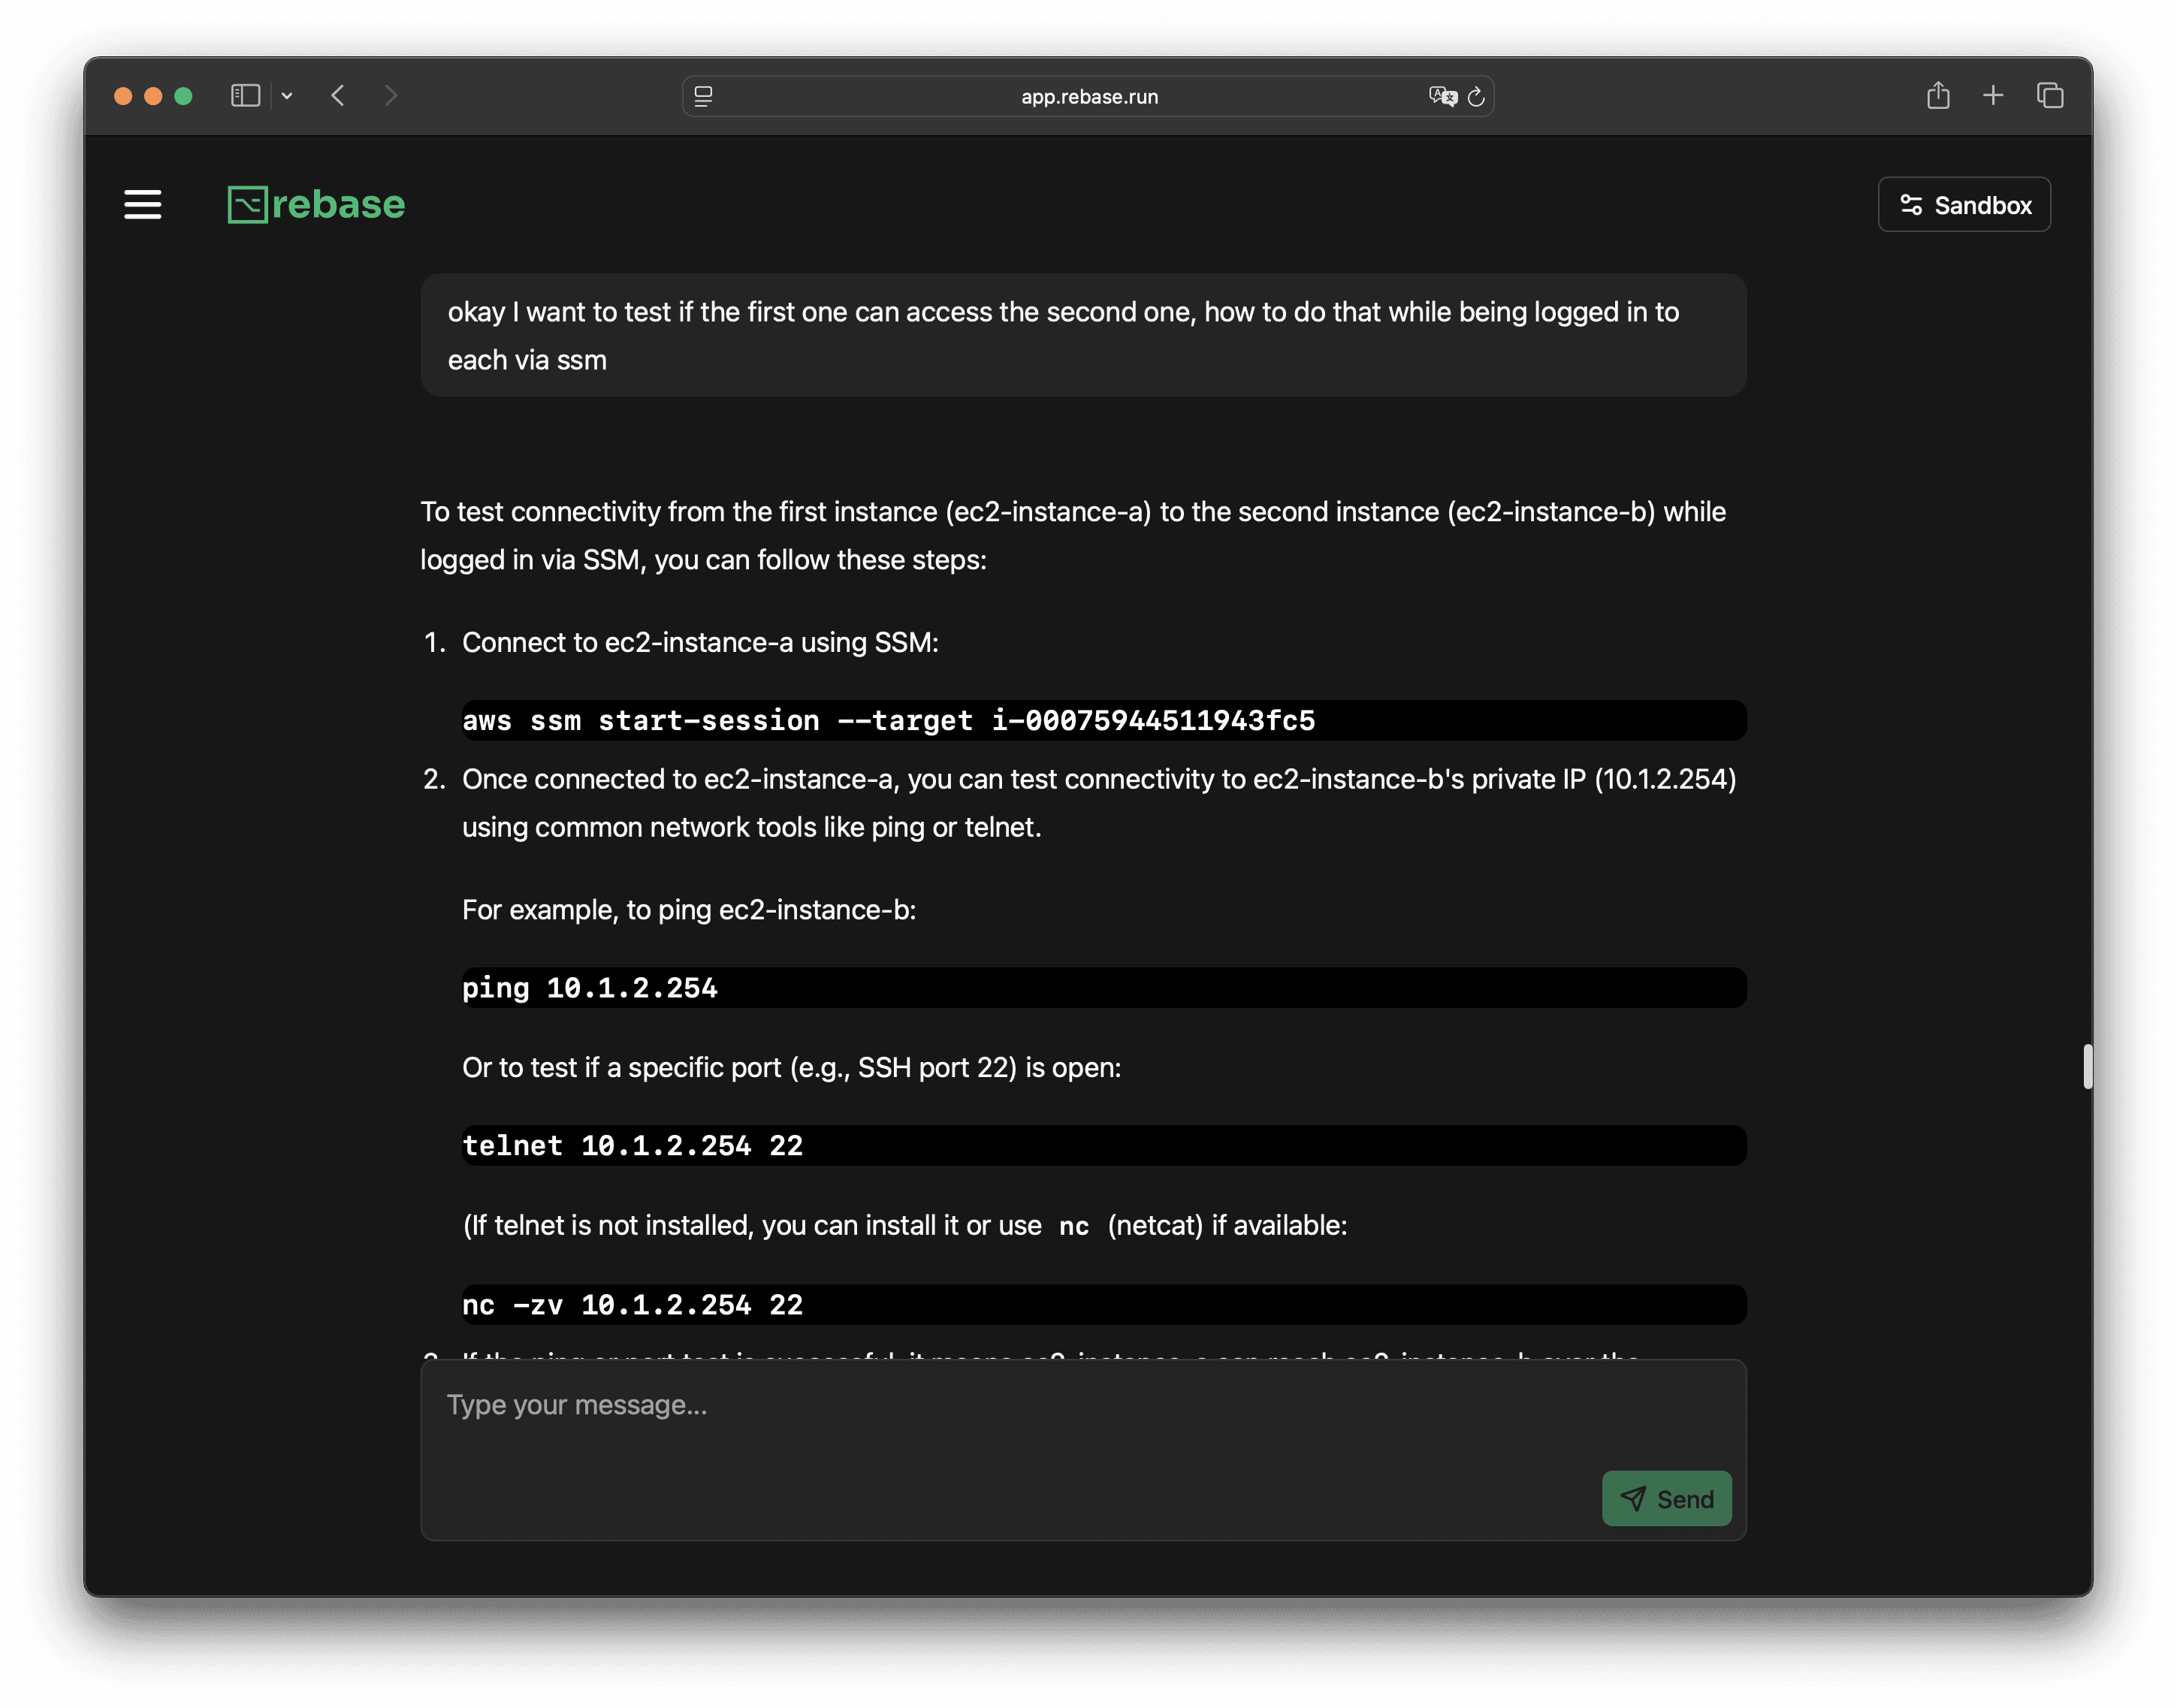
Now, grab the private IPs of both instances in each VPC. You’ll need them for the next step.

If you’re not sure how to test the setup, just ask the agent and it’ll help out.
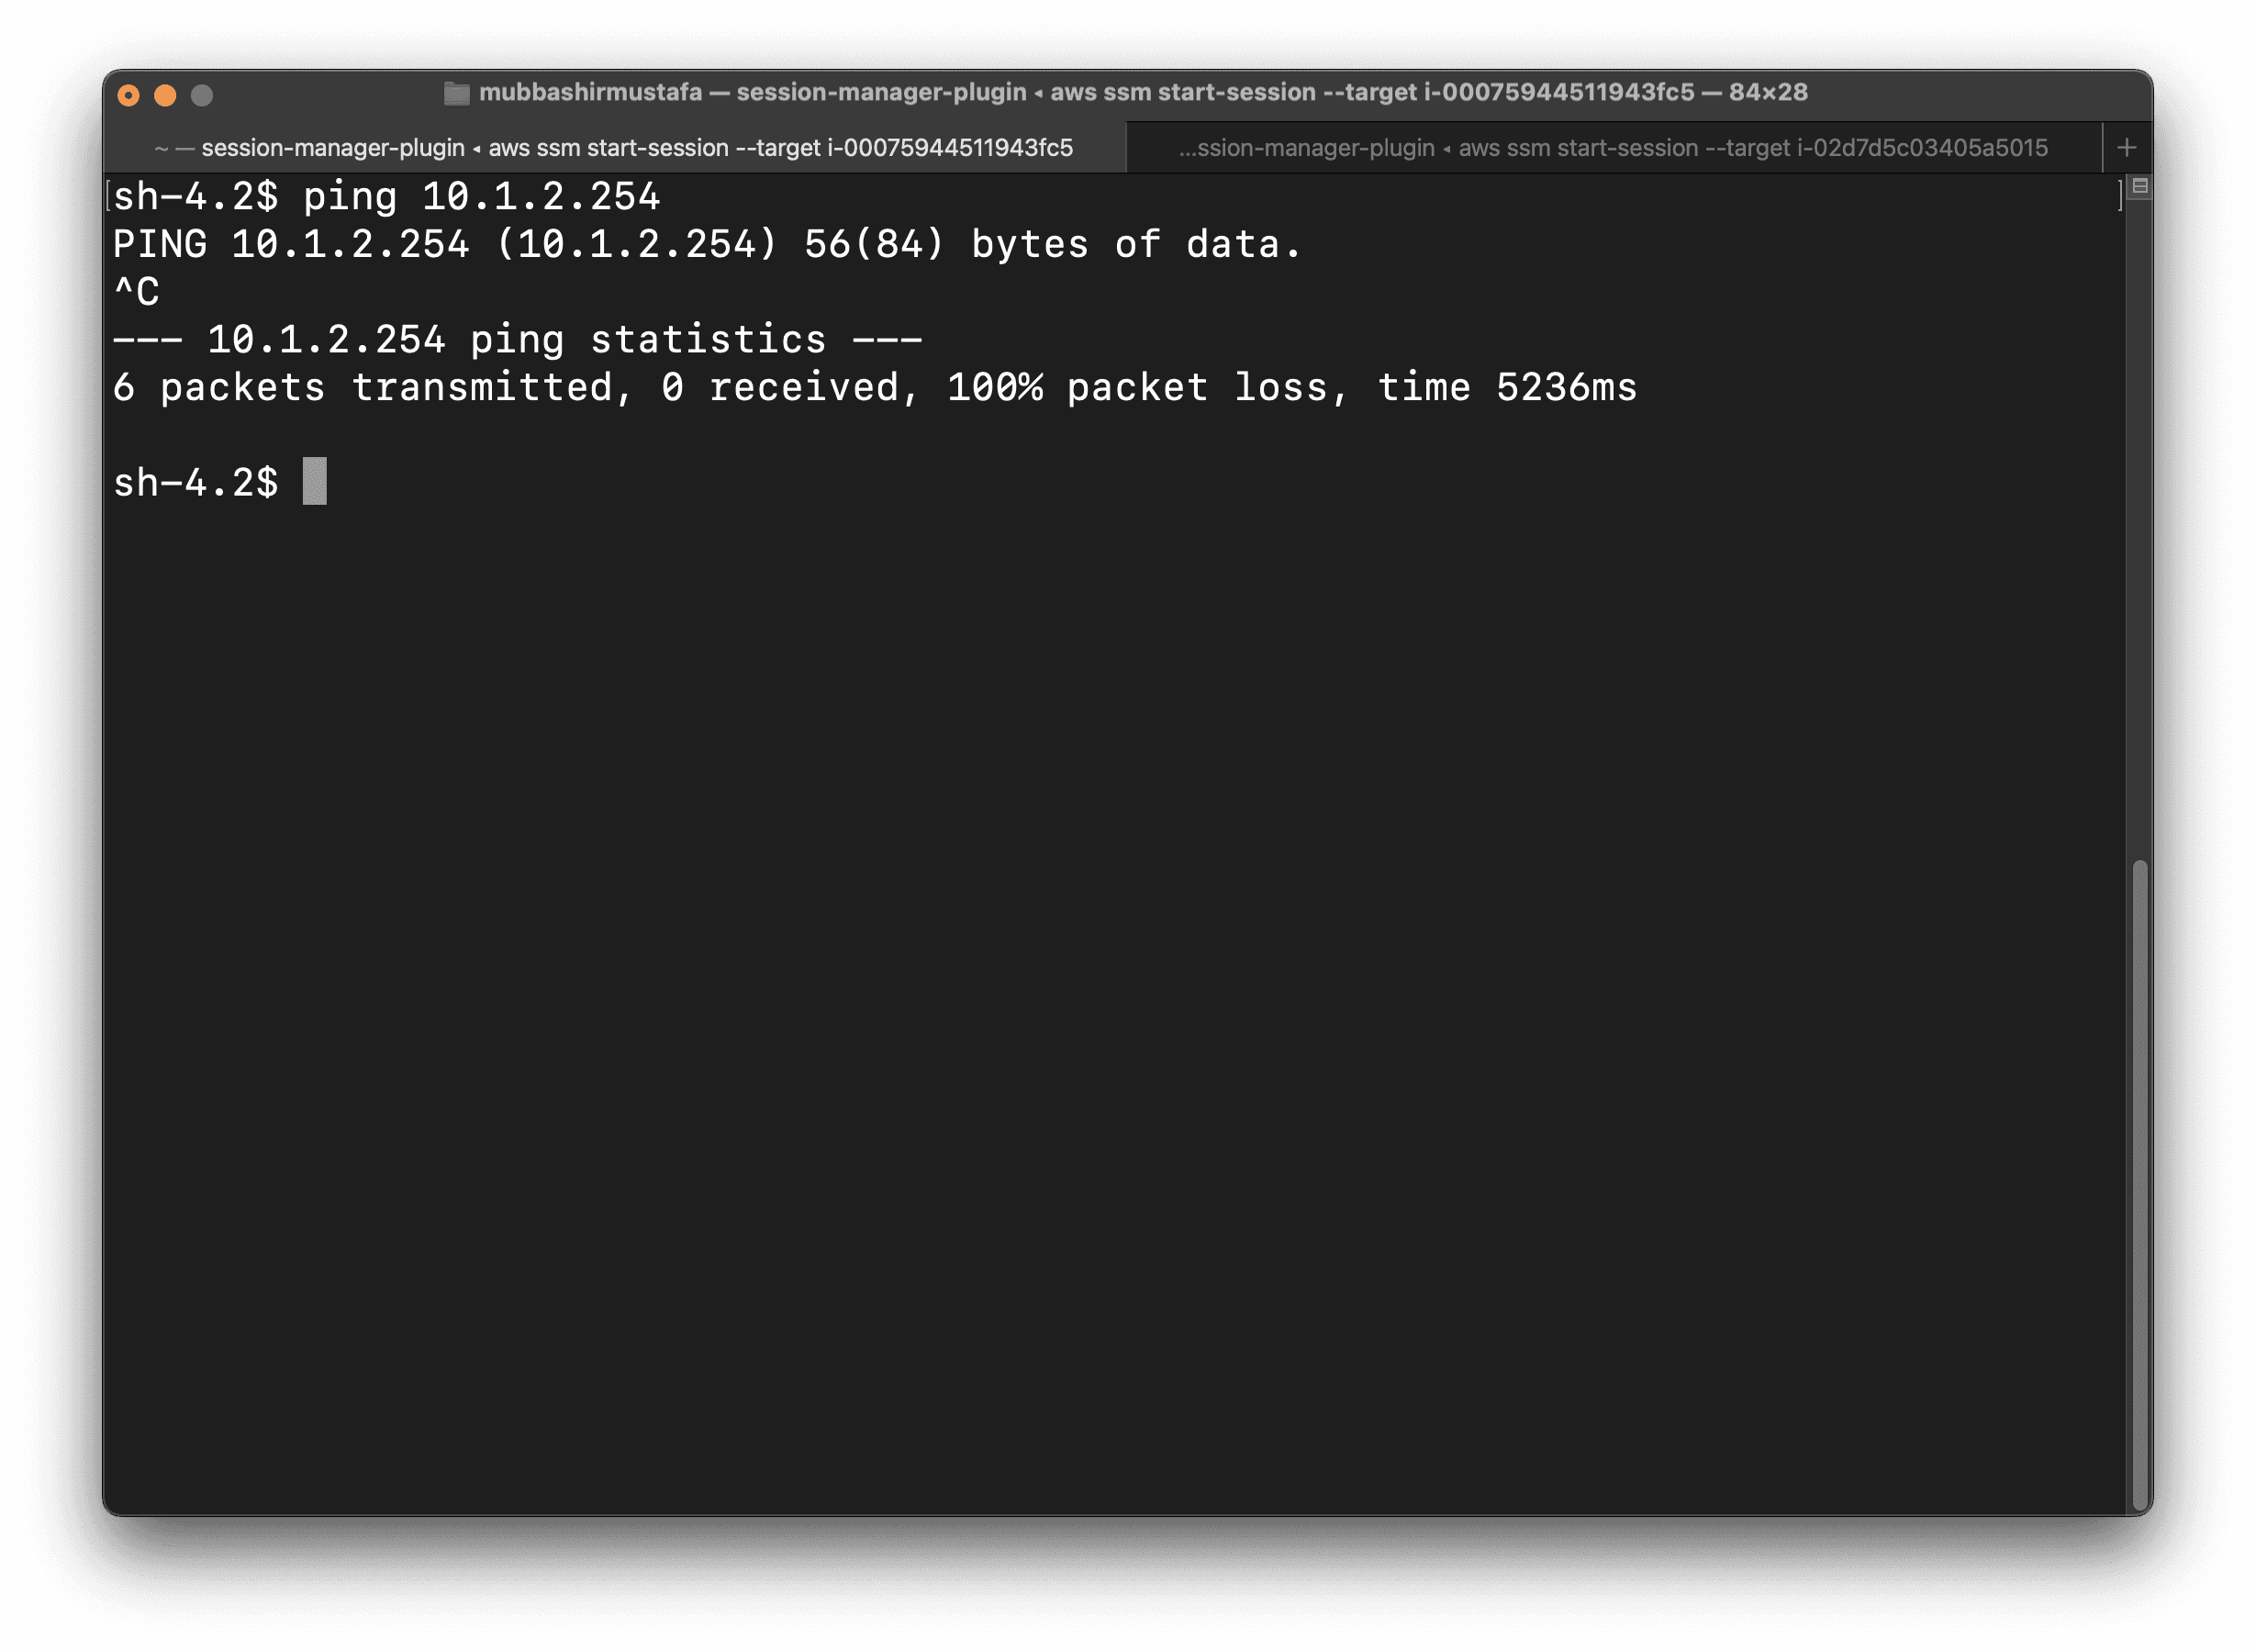
When you log in with SSM and try to ping the other instance from the first one, it won’t work yet. That’s because VPC peering isn’t enabled.
Now, let the agent know you want to enable VPC peering. It will handle everything needed for that.
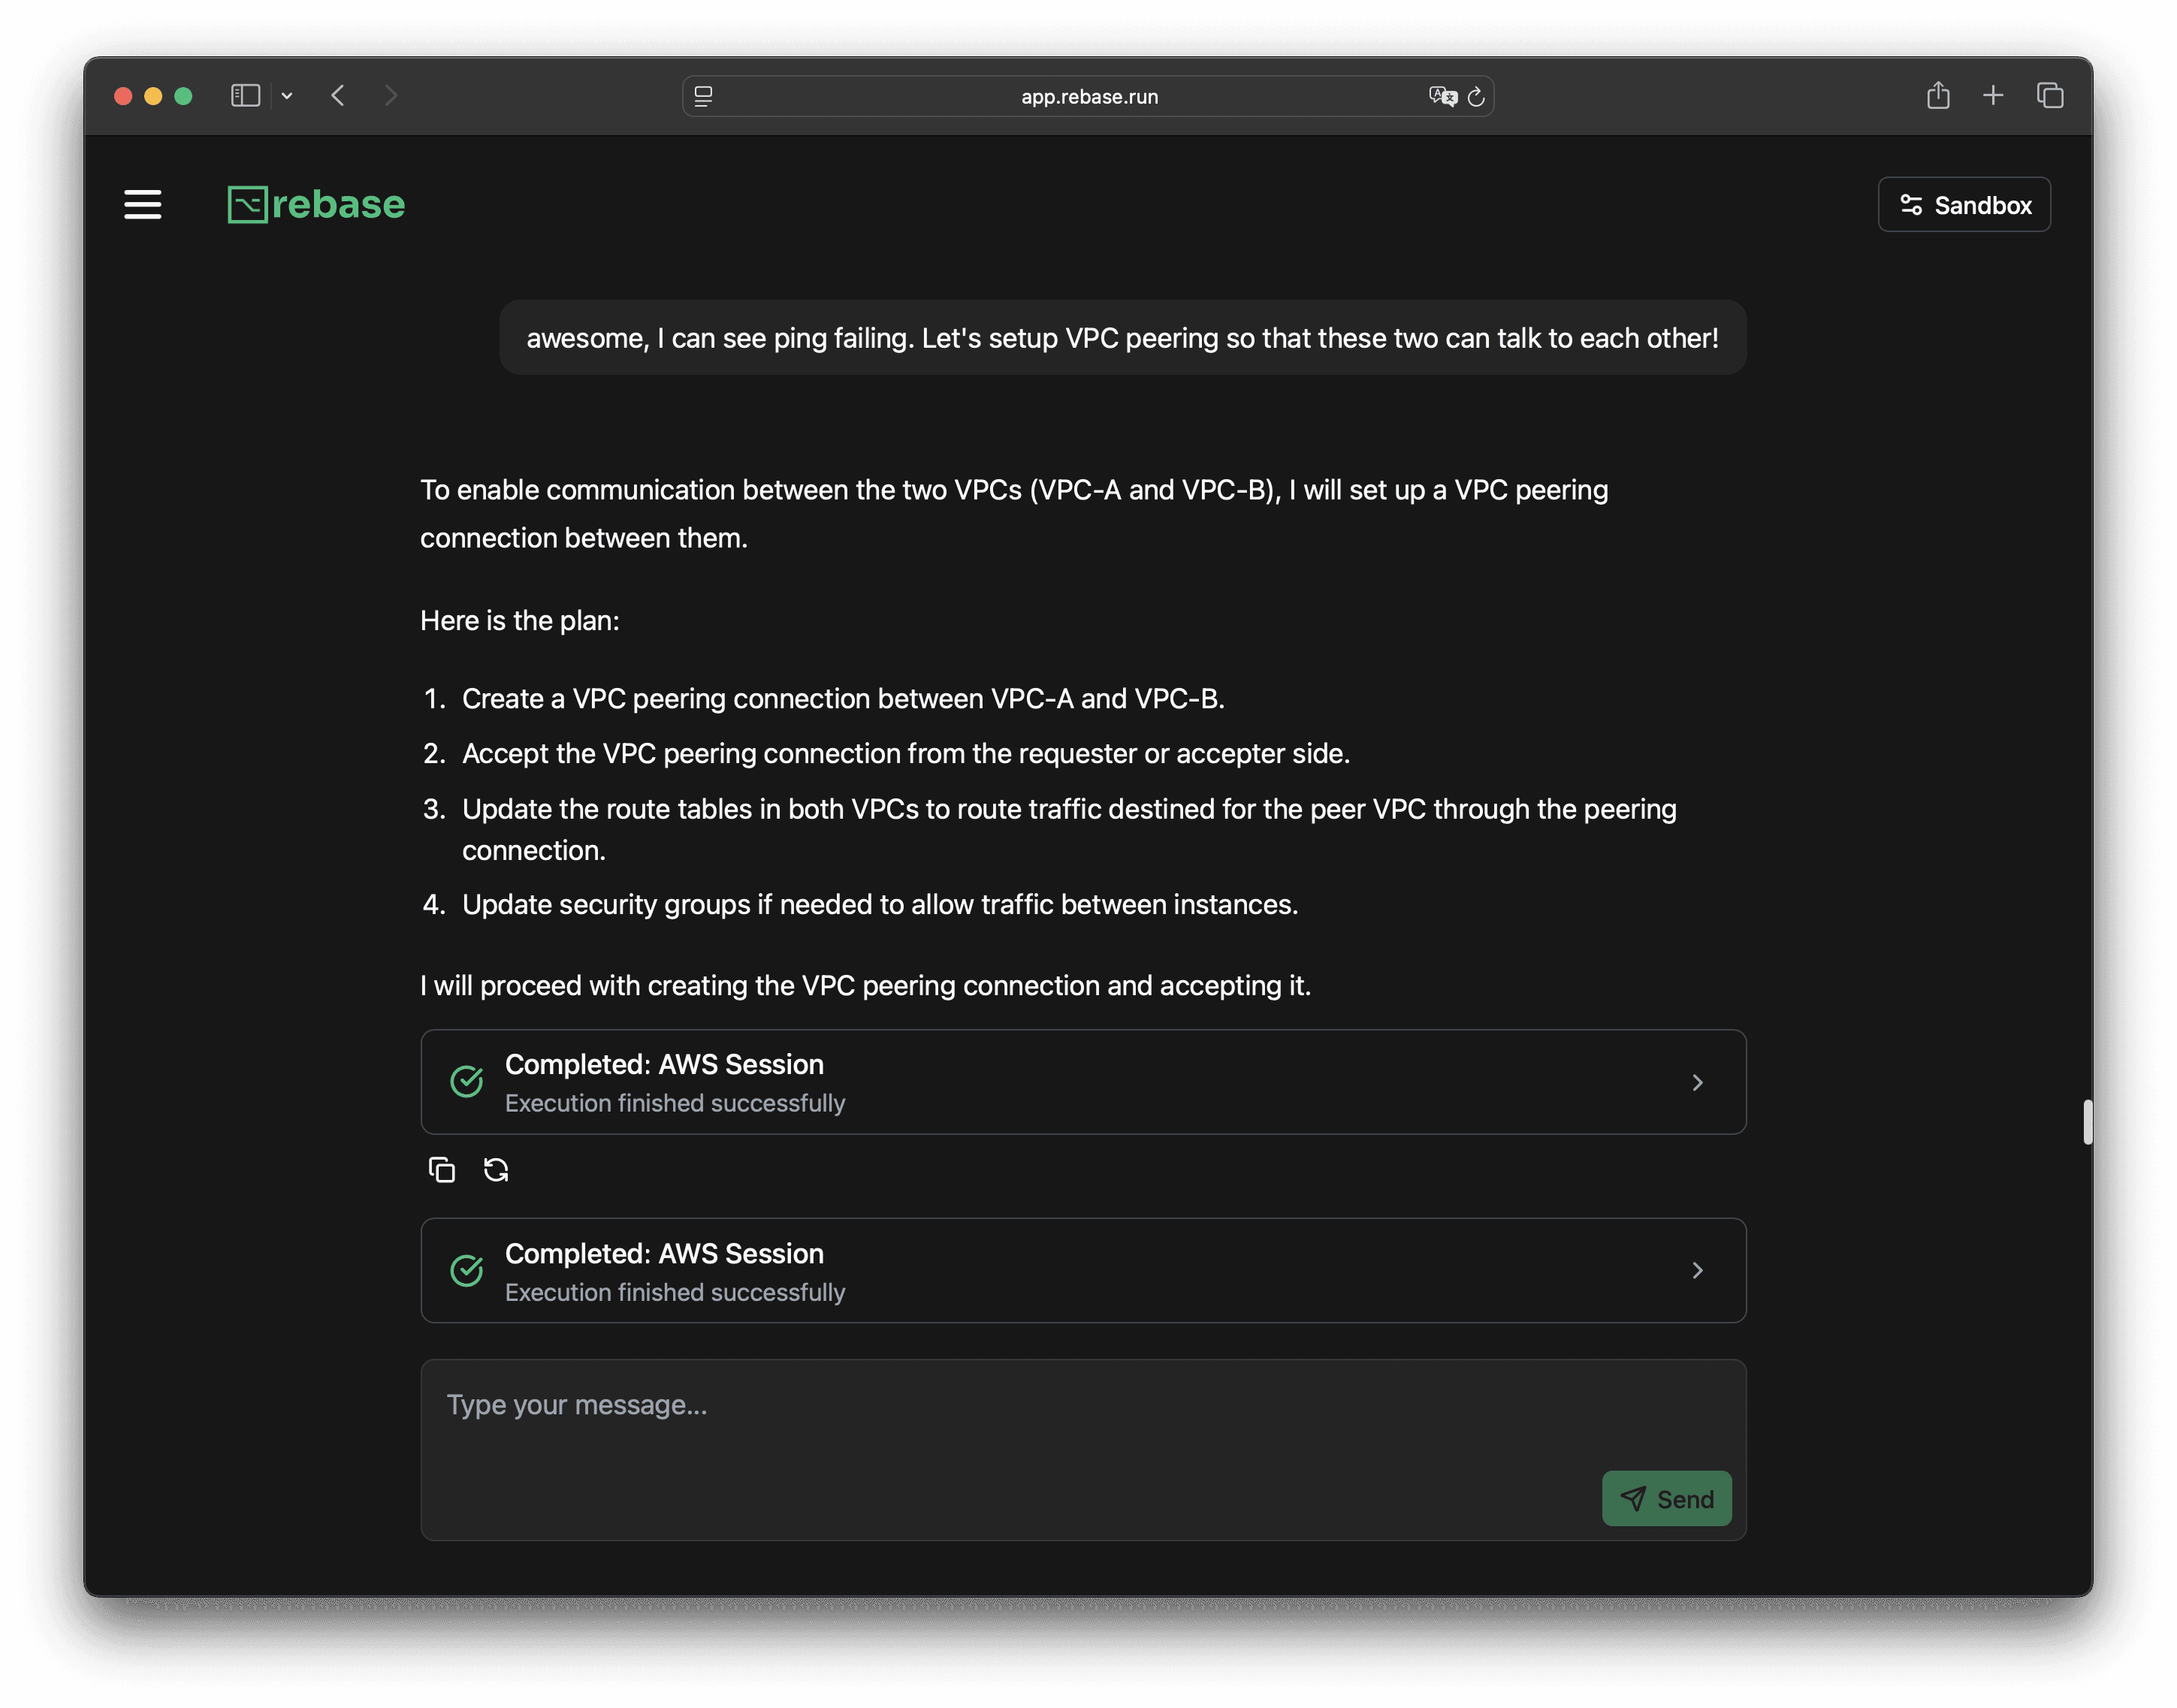
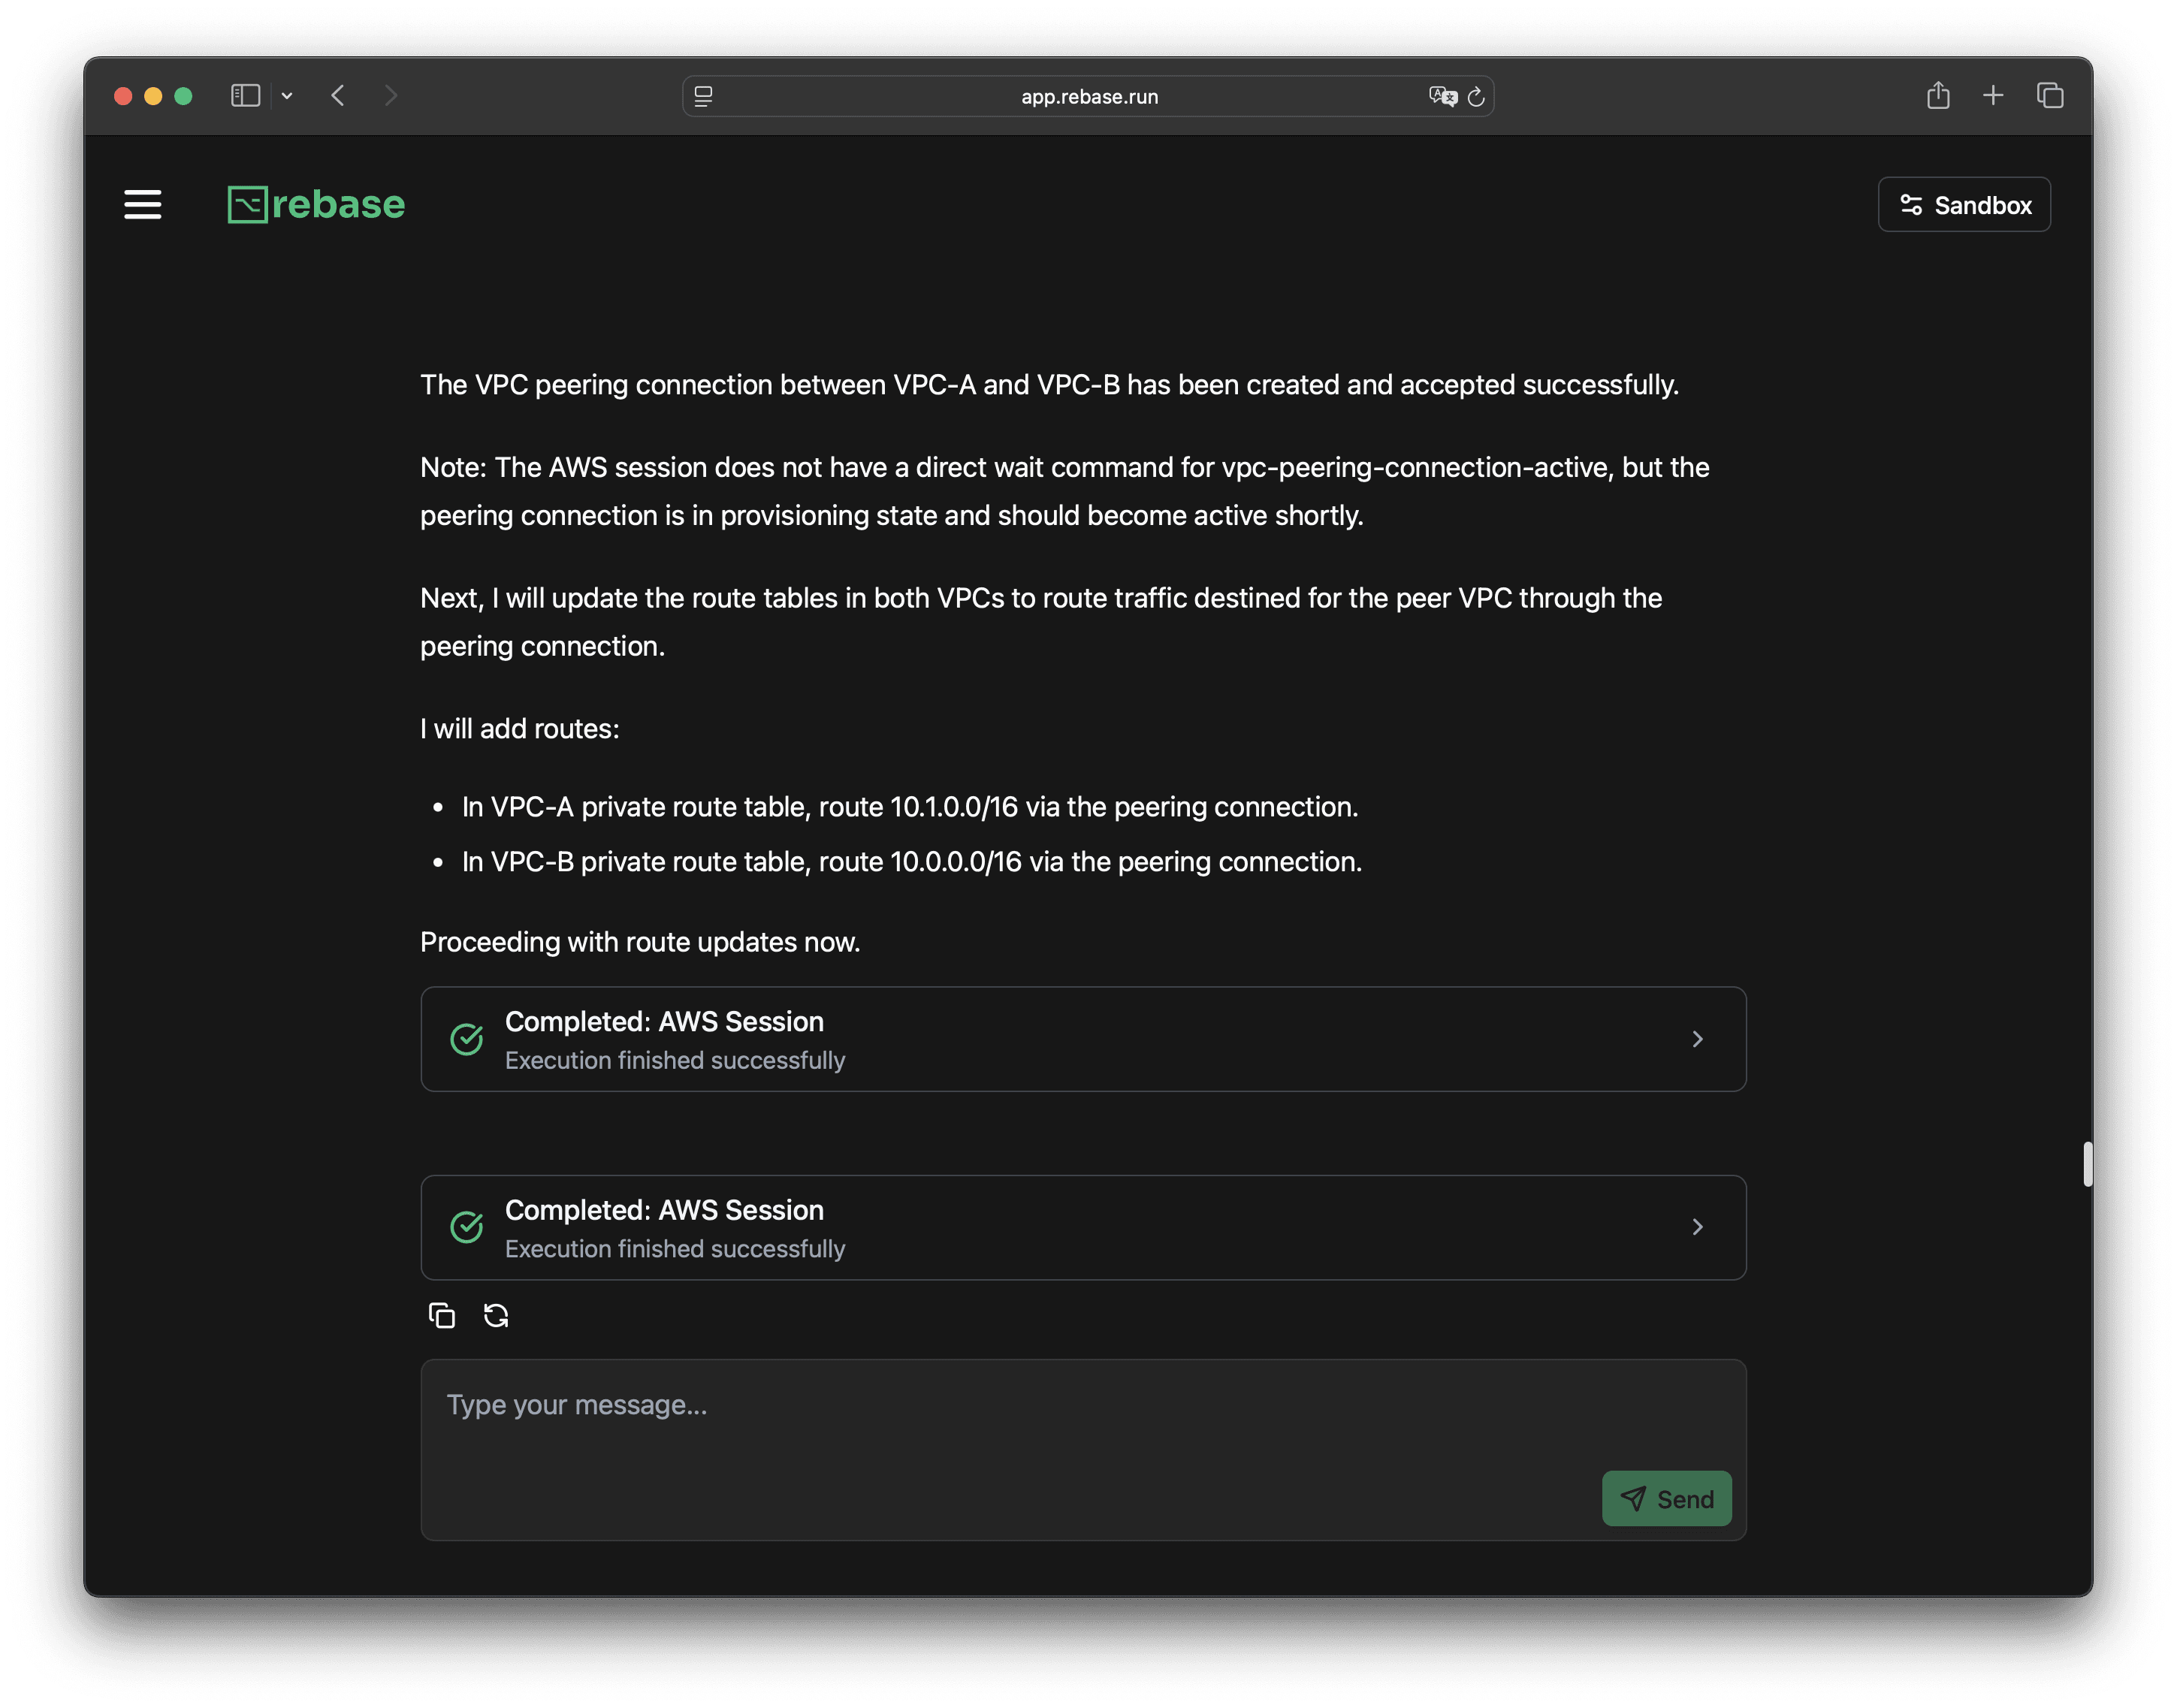
The agent figures out all the steps, including updating route tables, so traffic can flow between the VPCs.
If there’s anything else needed, the agent will suggest it and ask for your go-ahead.
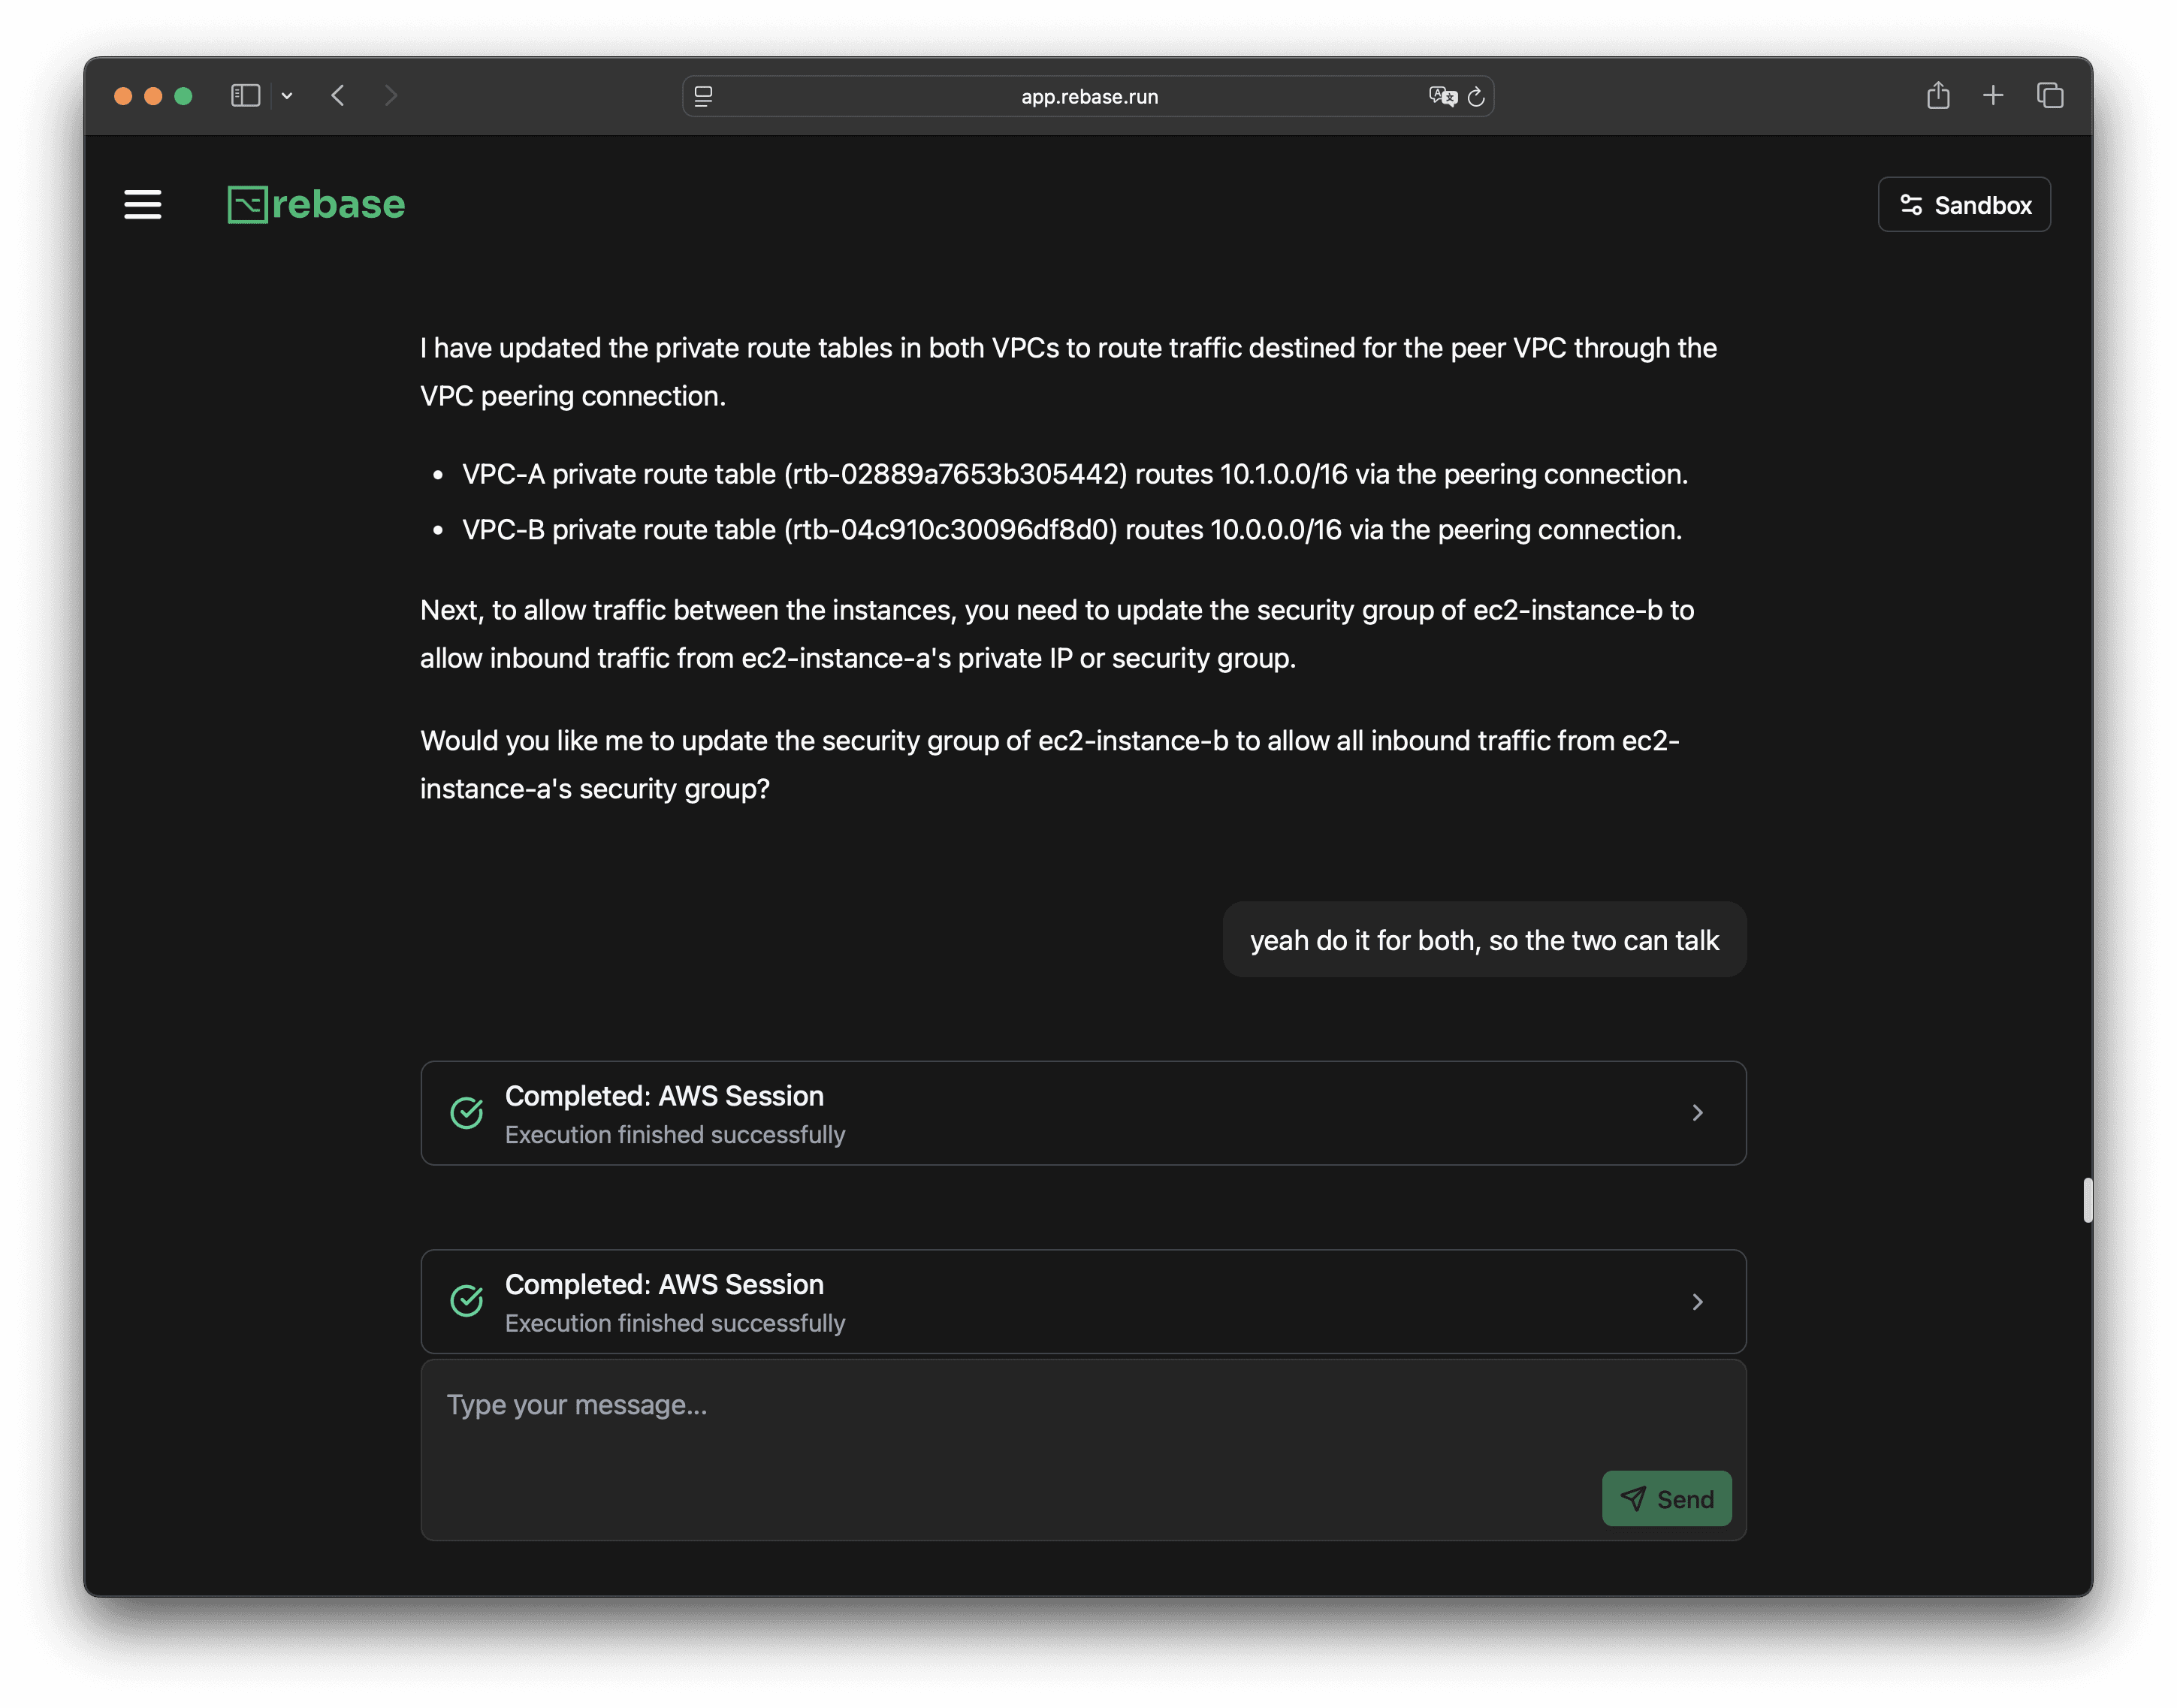
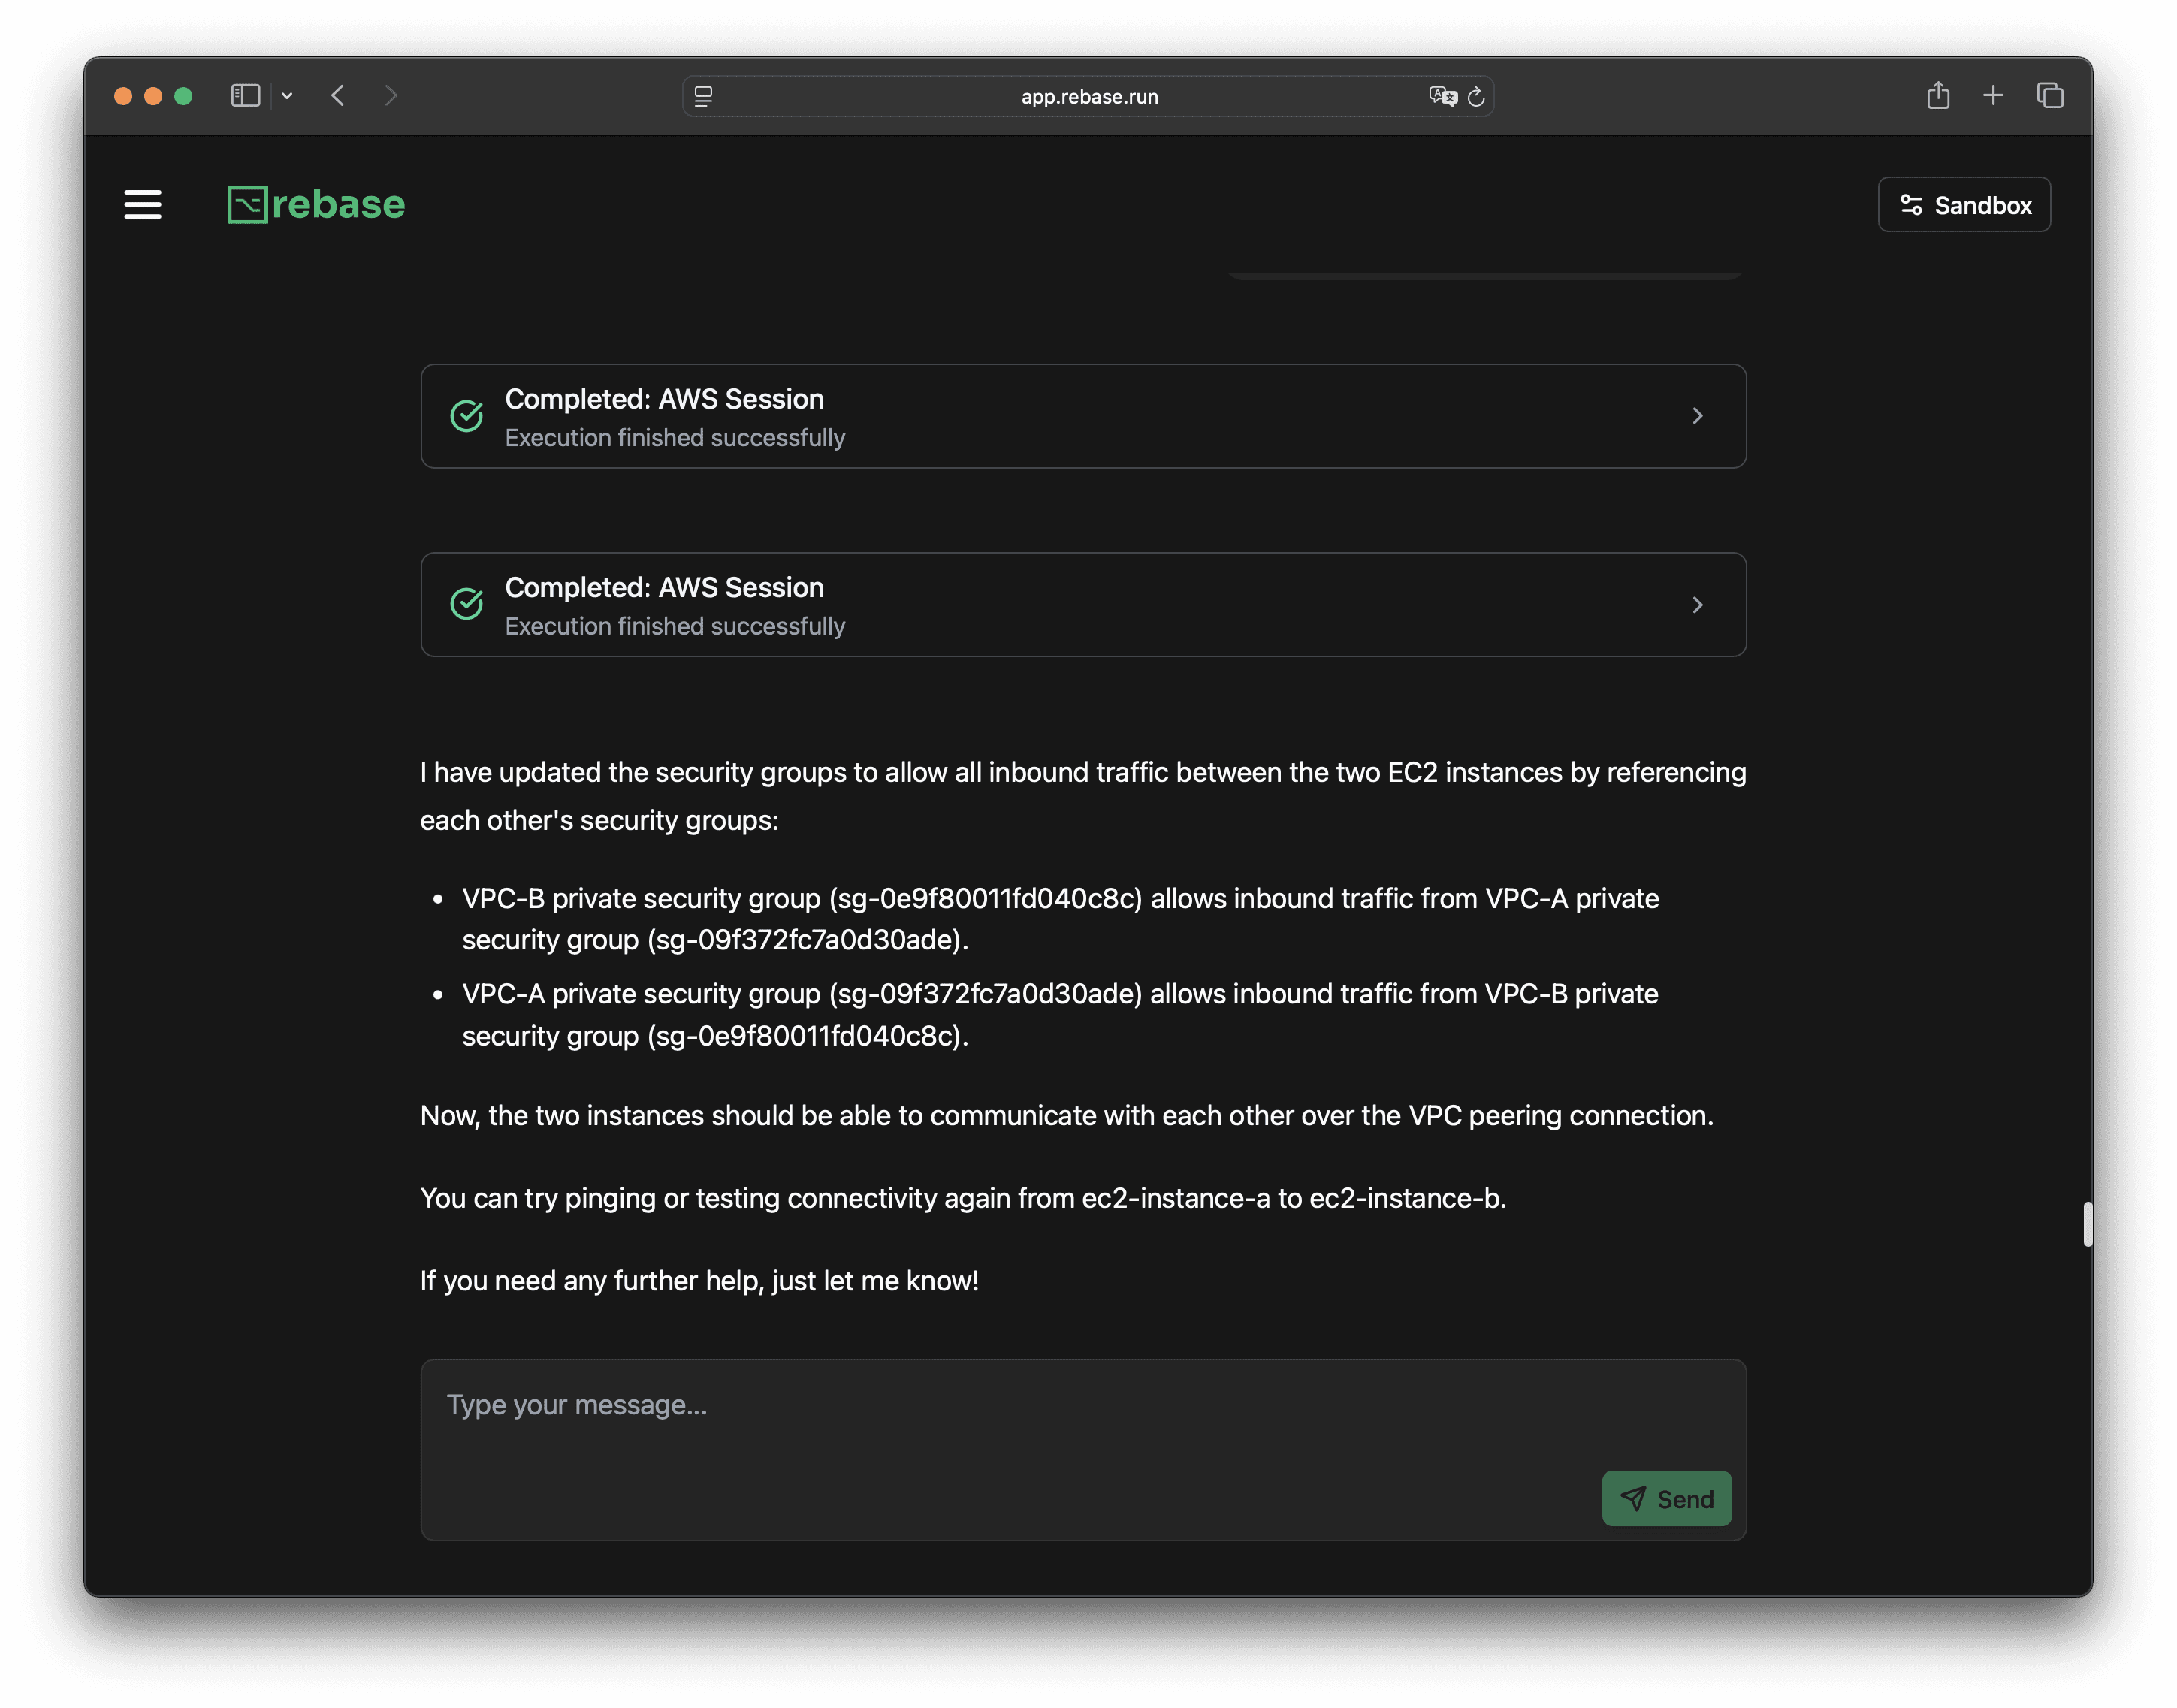
When it’s all done, you’ll get a summary of what was changed.
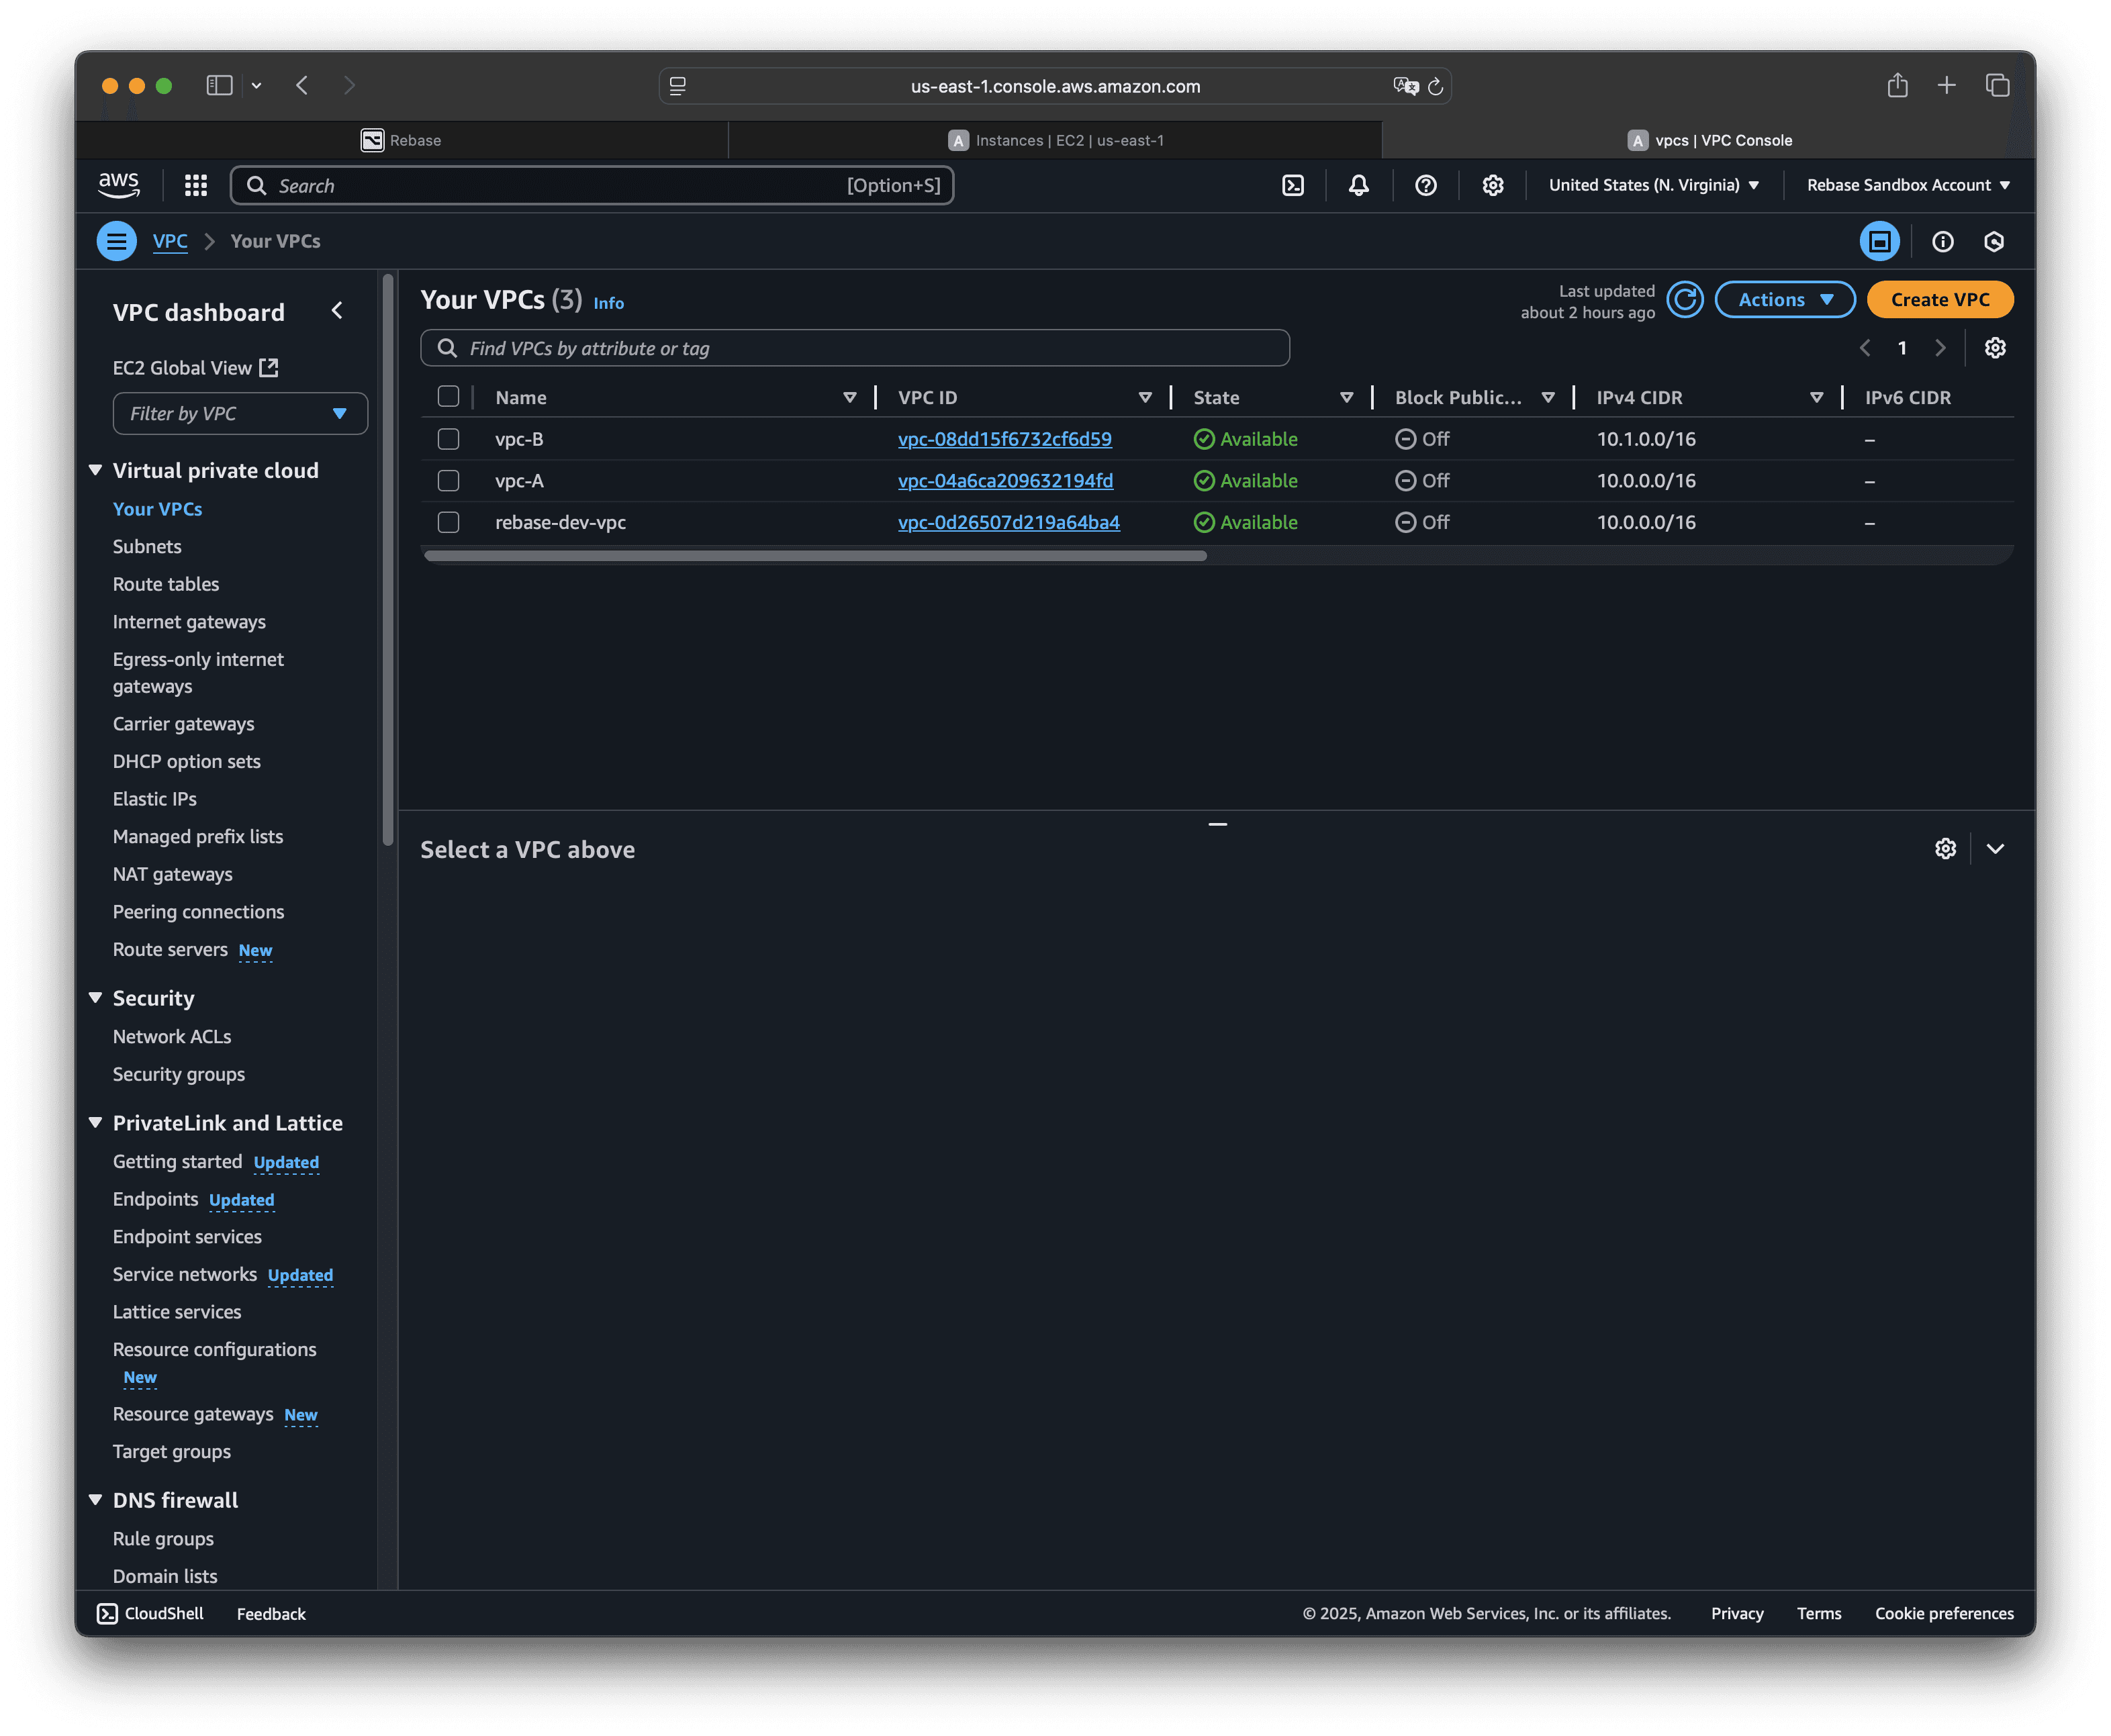
If you want to double-check, you can confirm everything from the AWS console.
Here’s the VPCs:
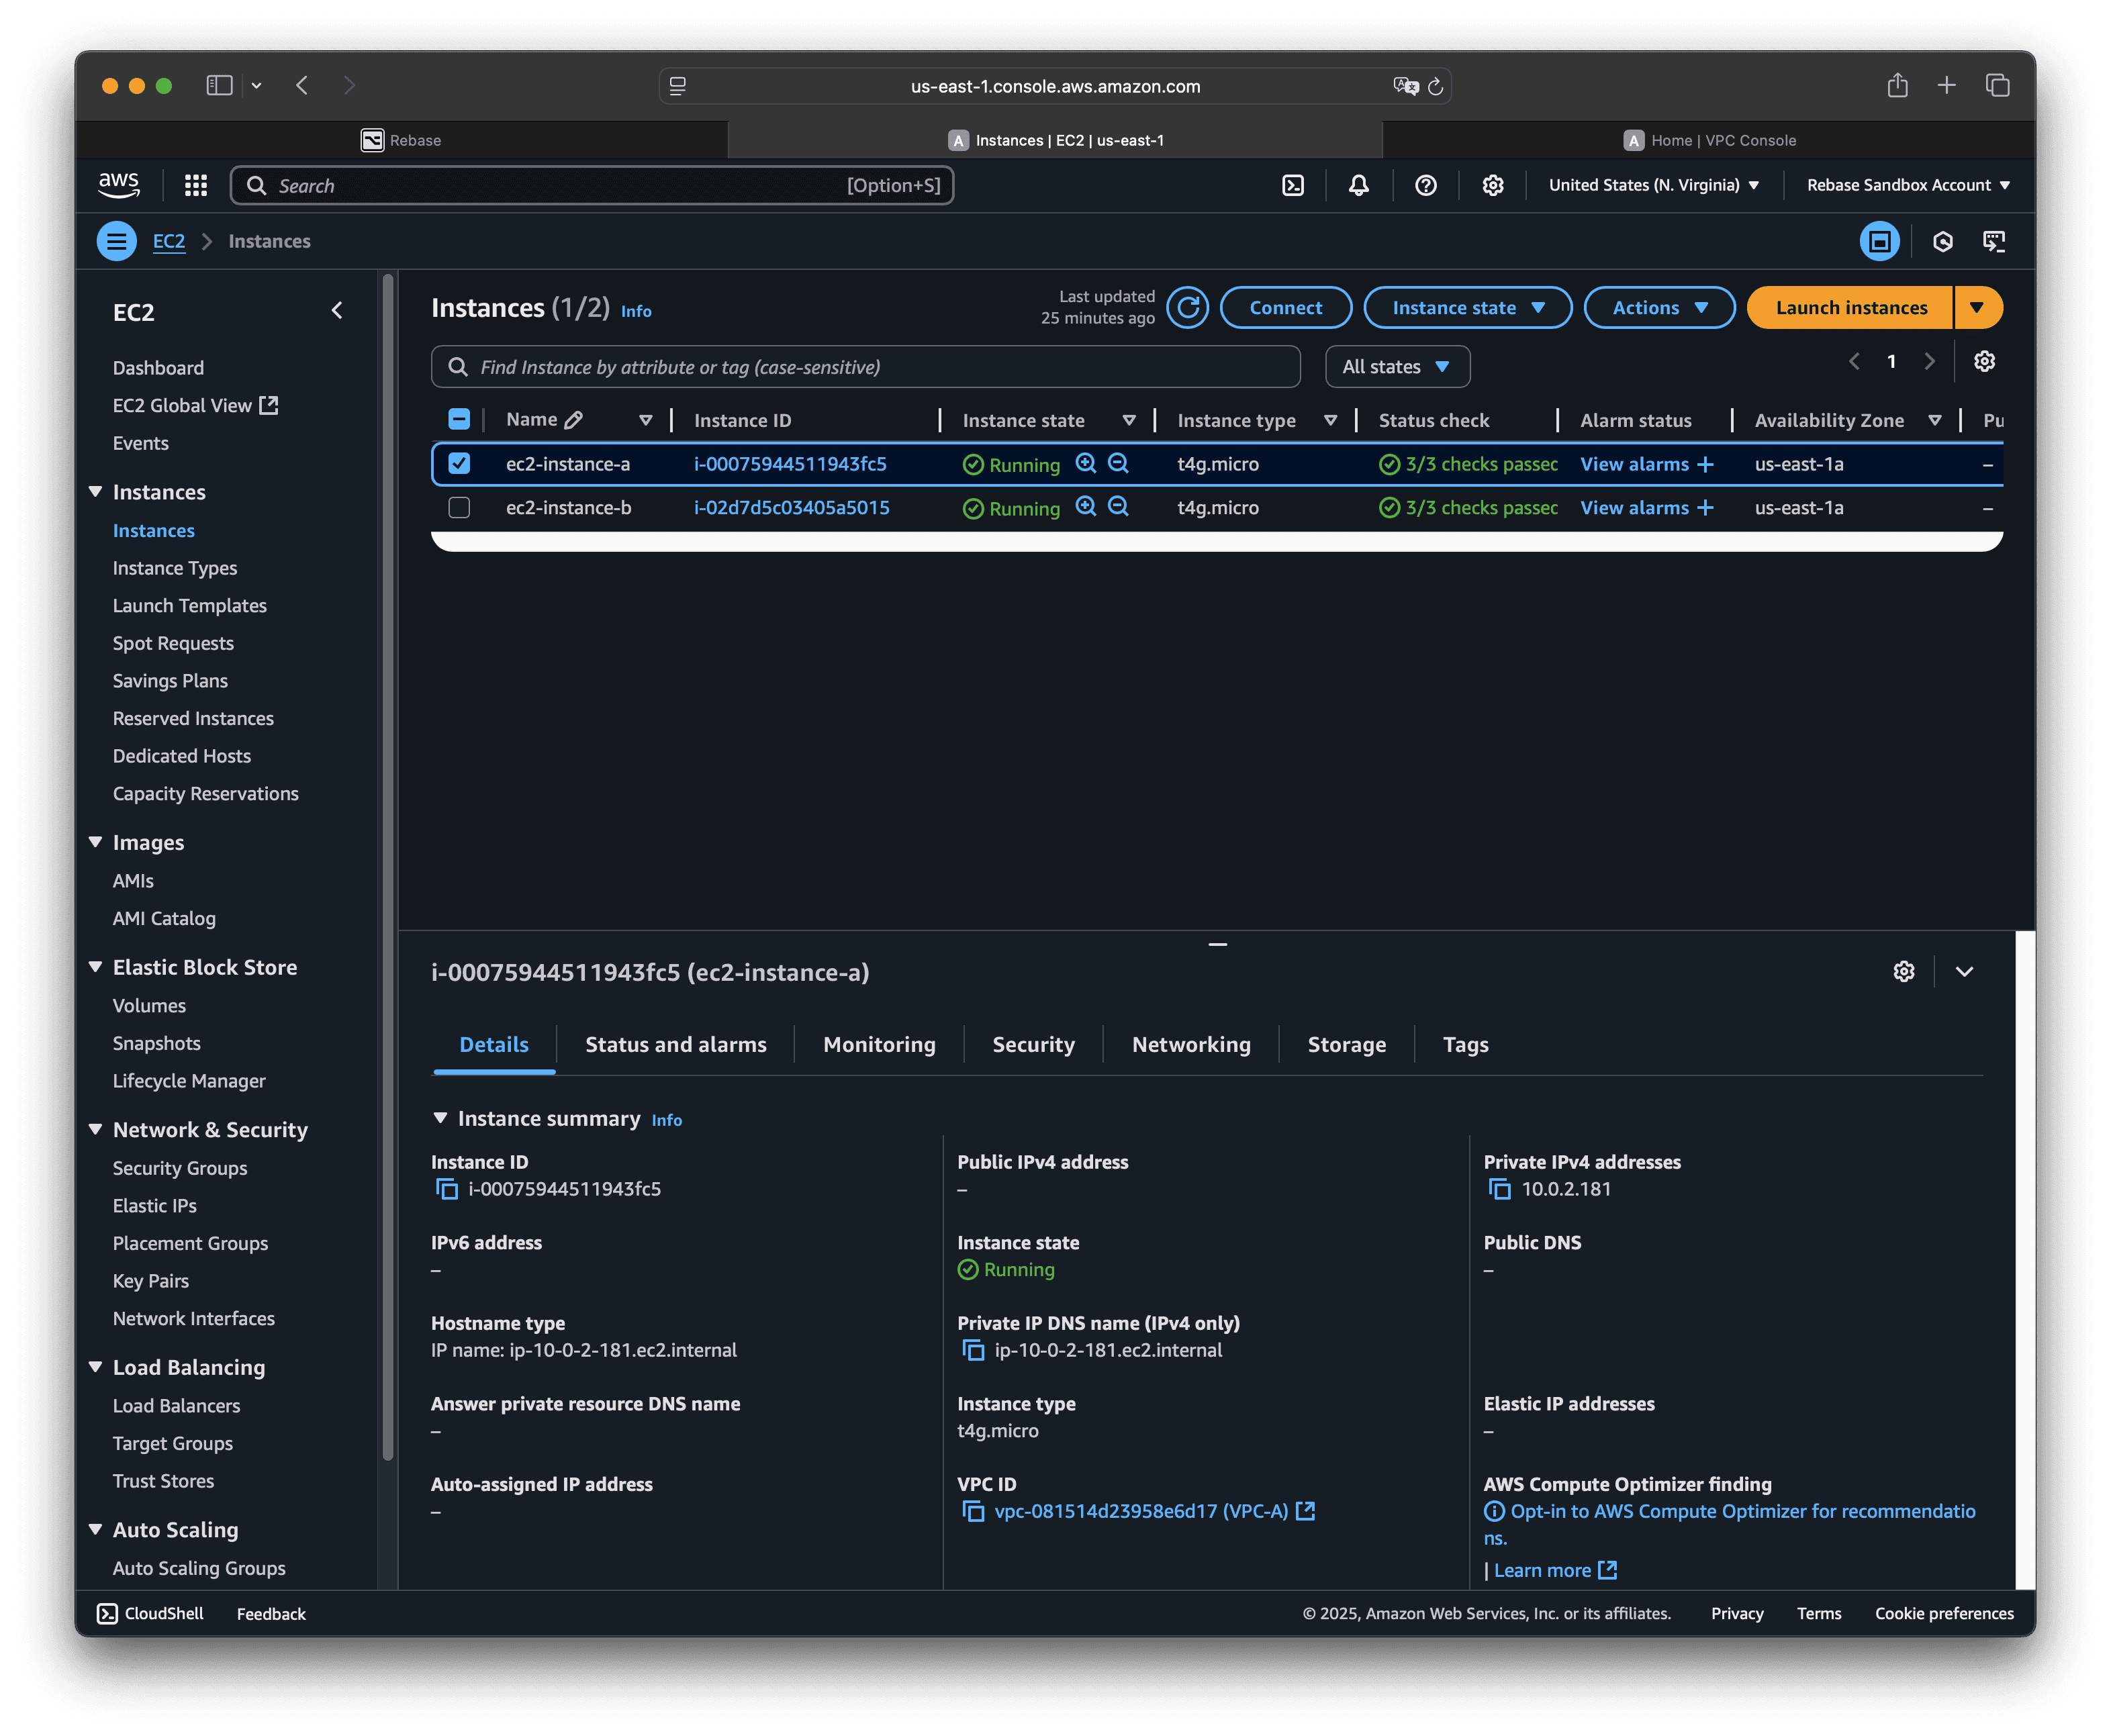
And here’s the EC2 instances:
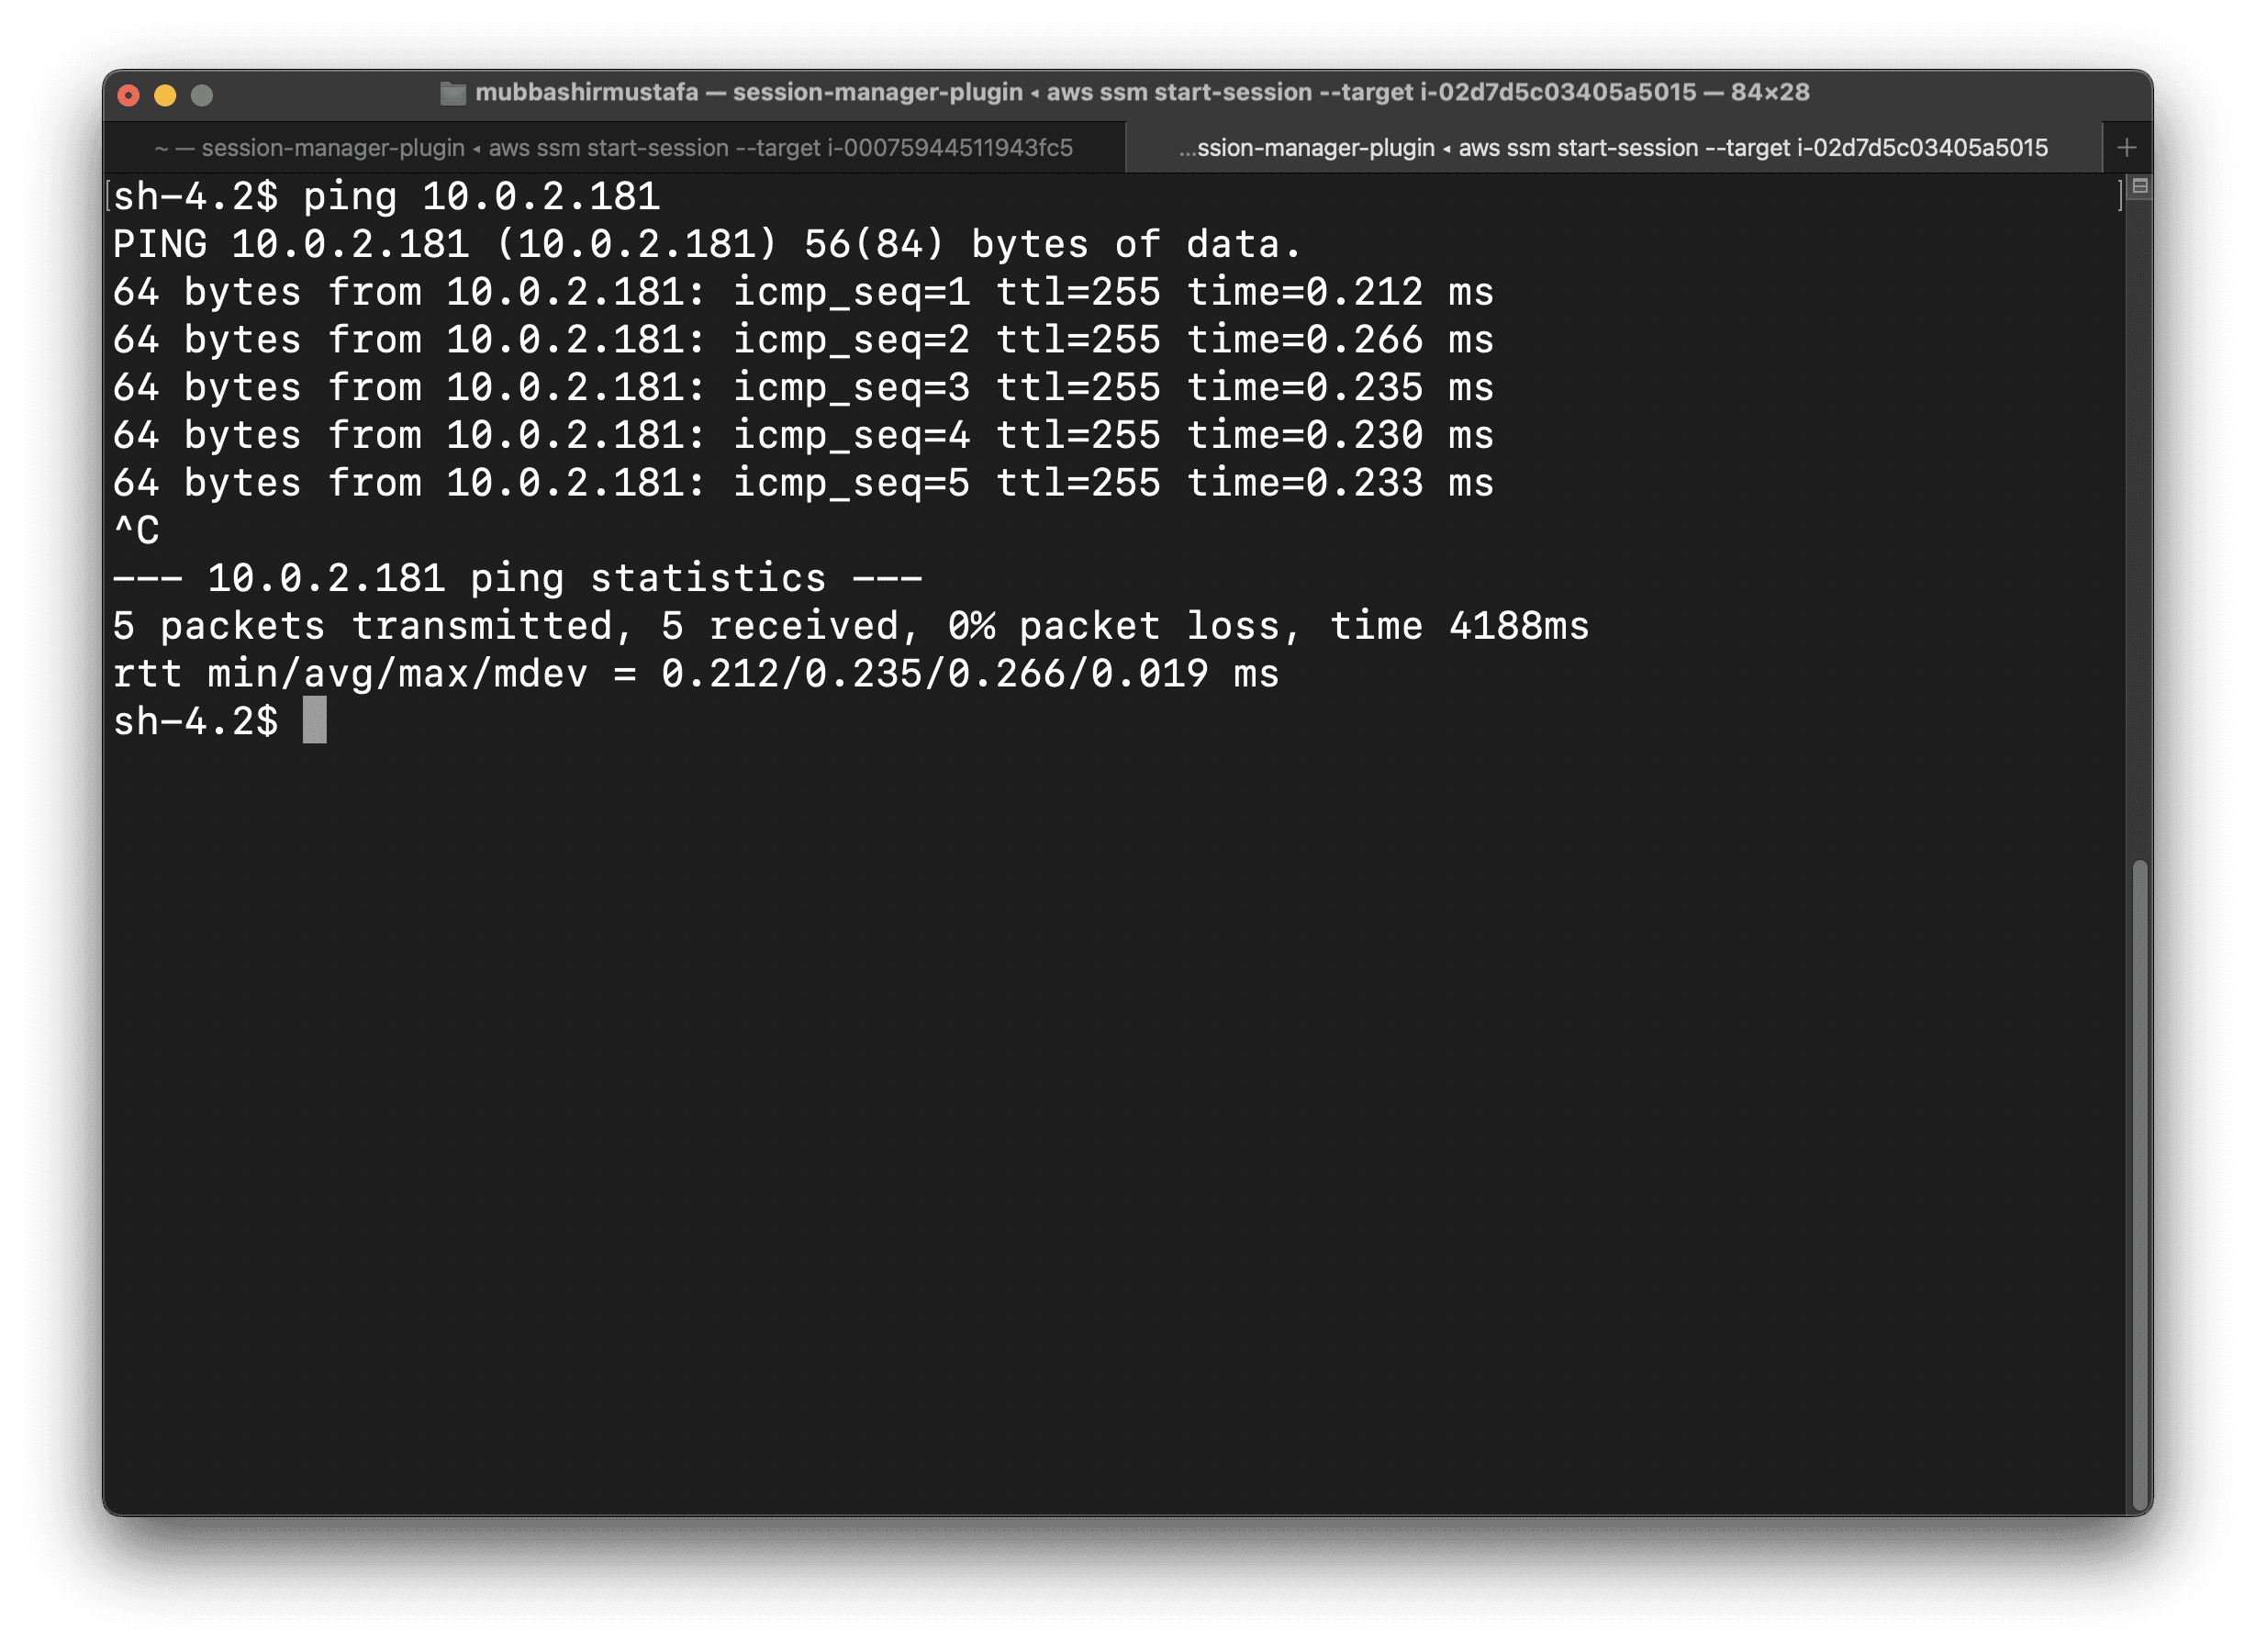
Now, if you try pinging from one EC2 instance to the other over their private IPs, it works. You’re all set.
That’s it. VPC peering, start to finish, without having to mess with the AWS console or memorize all the steps.